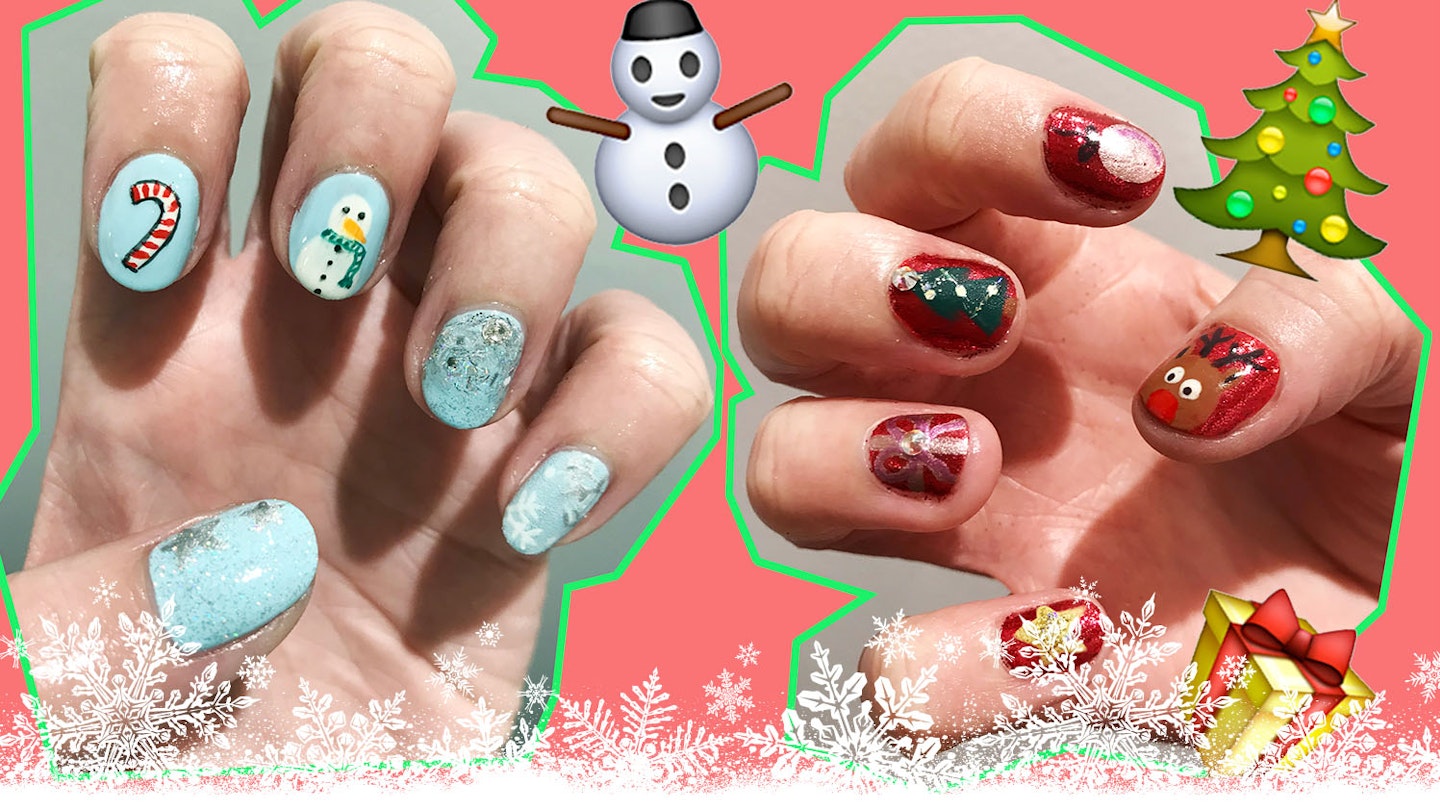
We've teamed up with nail artist to the stars Metta Francis to find out how to create the best Christmas nails with some fantastic nail art.
Always wanted to be able to show off to your mates with some fancy nail art, but never had the confidence to try it out?
Well, look no further - we've teamed up with nail genius Metta Francis and iZ Beauty of London to create some easy but impressive Christmas-flavoured nail art.
We've got everything from candy canes to Rudolph the reindeer himself - and they're ALL completely doable, even if you're a complete novice.
WATCH: Step-by-step Christmas nail art tutorial
READ MORE | Beauty trends on trial: Peel-off face masks
Quick tip: before you begin your Christmas nail art, make sure your nails are completely clean and dry, and moisturise before you do anything else.
Then, file and shape your nails - after all, you want them to be looking their best, don't you?!
After that, use either a nail primer or a base coat to iron out any lumps and bumps.
We've used colours by iZ Beauty of London to create these looks, but feel free to use any similar colours you already own!
We recommend you invest in a nail art brush before trying any of these - there are some pretty intricate designs! iZ Beauty of London sell a Short Nail Art Brush for £8.50, or you could alternatively invest in this nail art kit from Amazon for £3.98.
Closer's Christmas nail art designs
For the blue designs, apply two coats of a baby blue colour (we've used** Gel-Effect Nail Lacquer in Baby Blue), and for the red hand, apply one coat of a bright red polish (we've used Gel-Effect Nail Lacquer in Hot Chilli) and then apply some red nail glitter - we've used Ruby Slippers.**
Closer's Christmas nails
 1 of 10
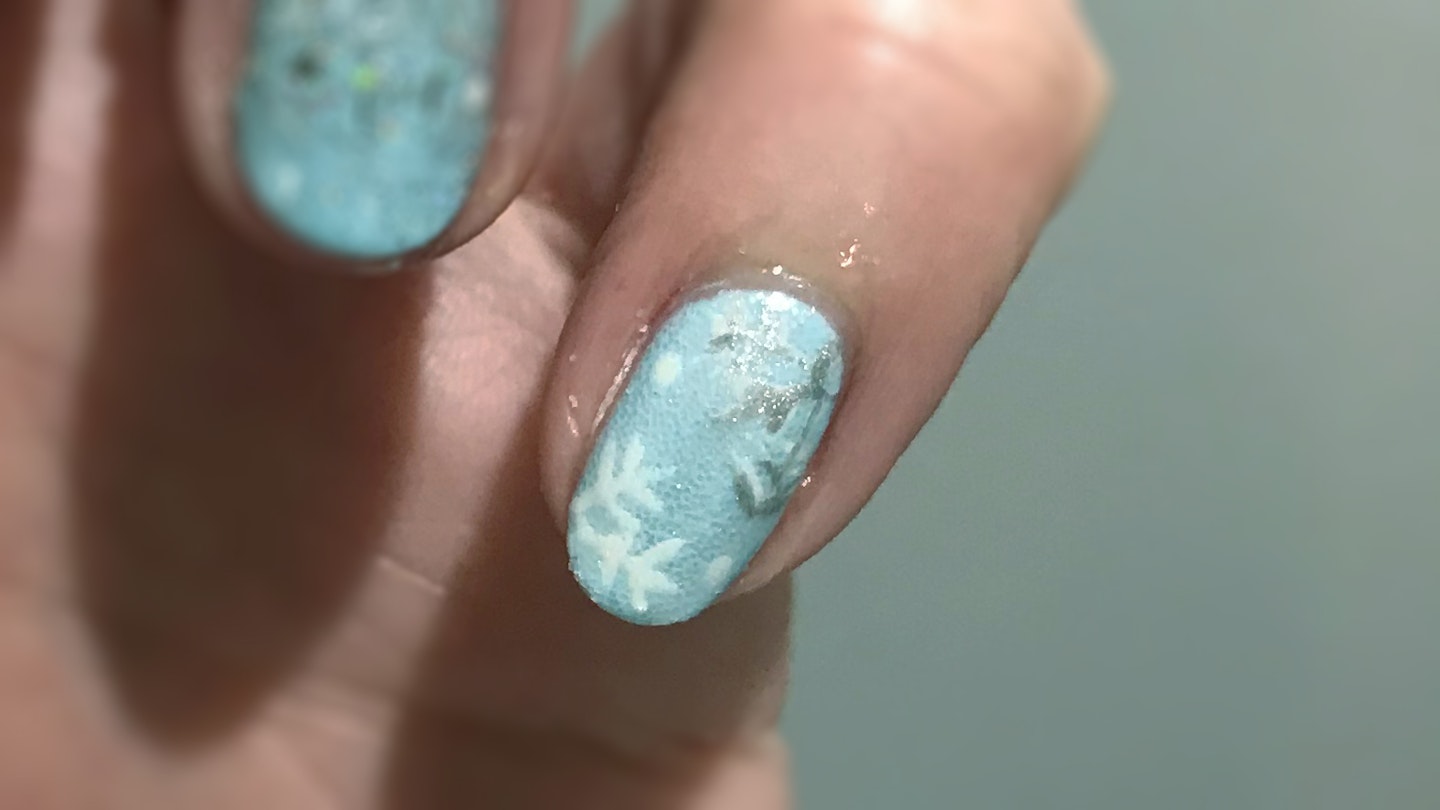
1) Snowflakes Nail Art
Step 1: Using a nail art brush, paint small, thin strokes to make a snowflake shape on the fingernail - we've used the Gel-Effect Lacquer in Competition WhiteStep 2: When that's dried a little (but is still tacky), use a small fluffy applicator brush to apply a light coating of Glitter in Snow White over the whole nail
 2 of 10
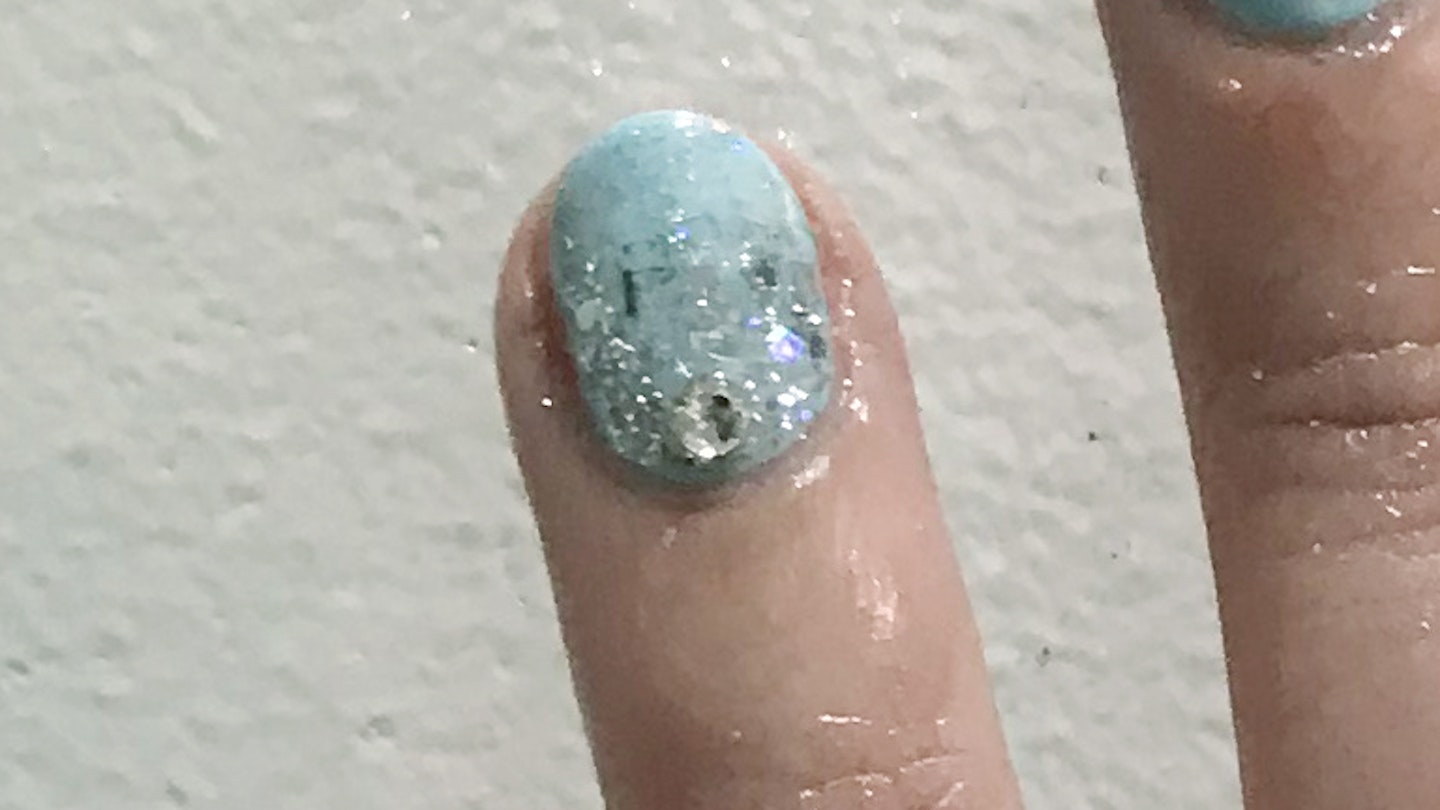
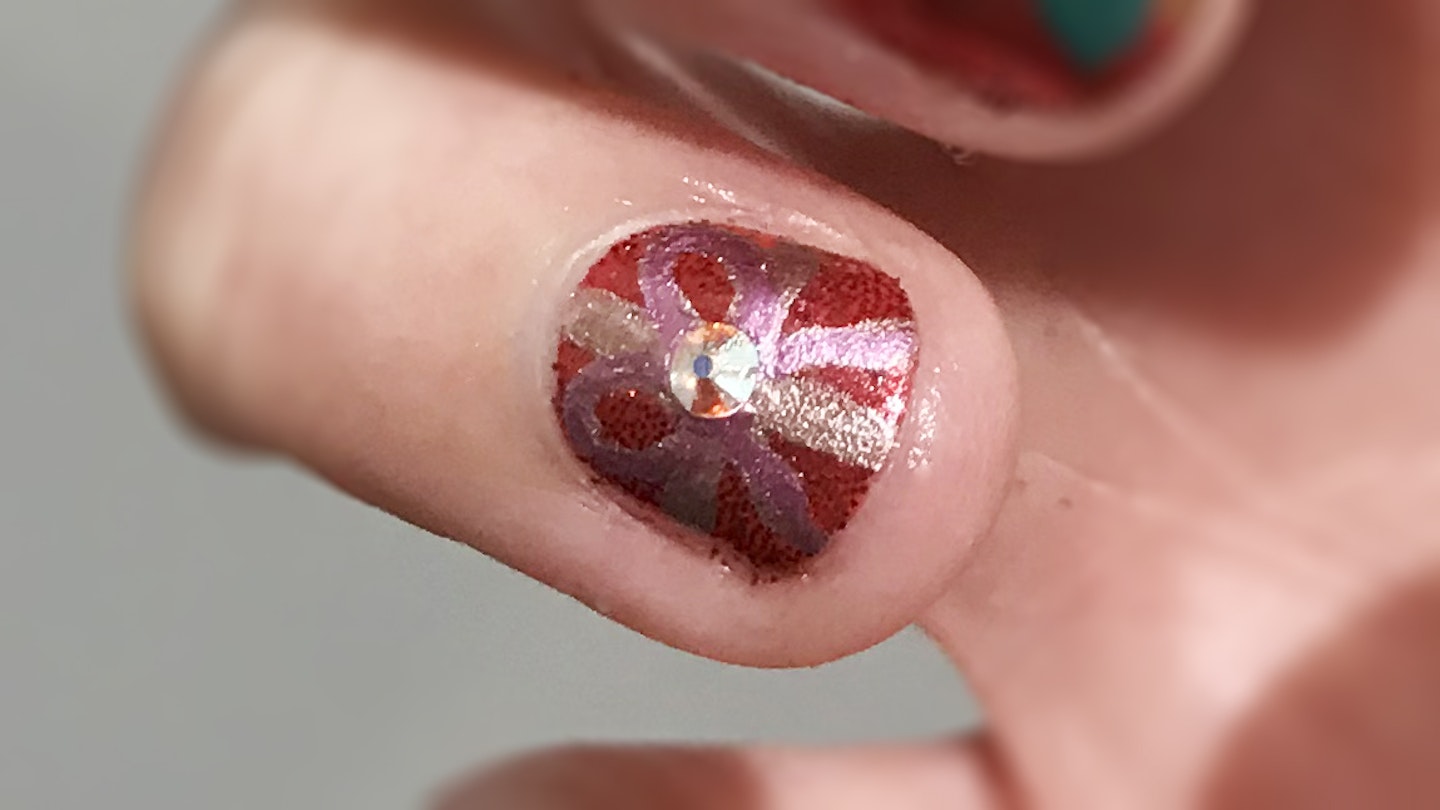
2) Glitter Ombre Nails
Step 1: Paint on a glitter polish (we've used Invitation Only Glitter Top Coat) starting from the base of the nail and stopping halfway up to create an ombré effect. To avoid a harsh line, differ the lengths of your strokes slightlyStep 2: Pick up a small crystal gem (we've used Swarovski Clear Crystals) with a pair of tweezers and dab it lightly in a top coat which will act as glue, then place it in the centre of the nail at the base
 3 of 10
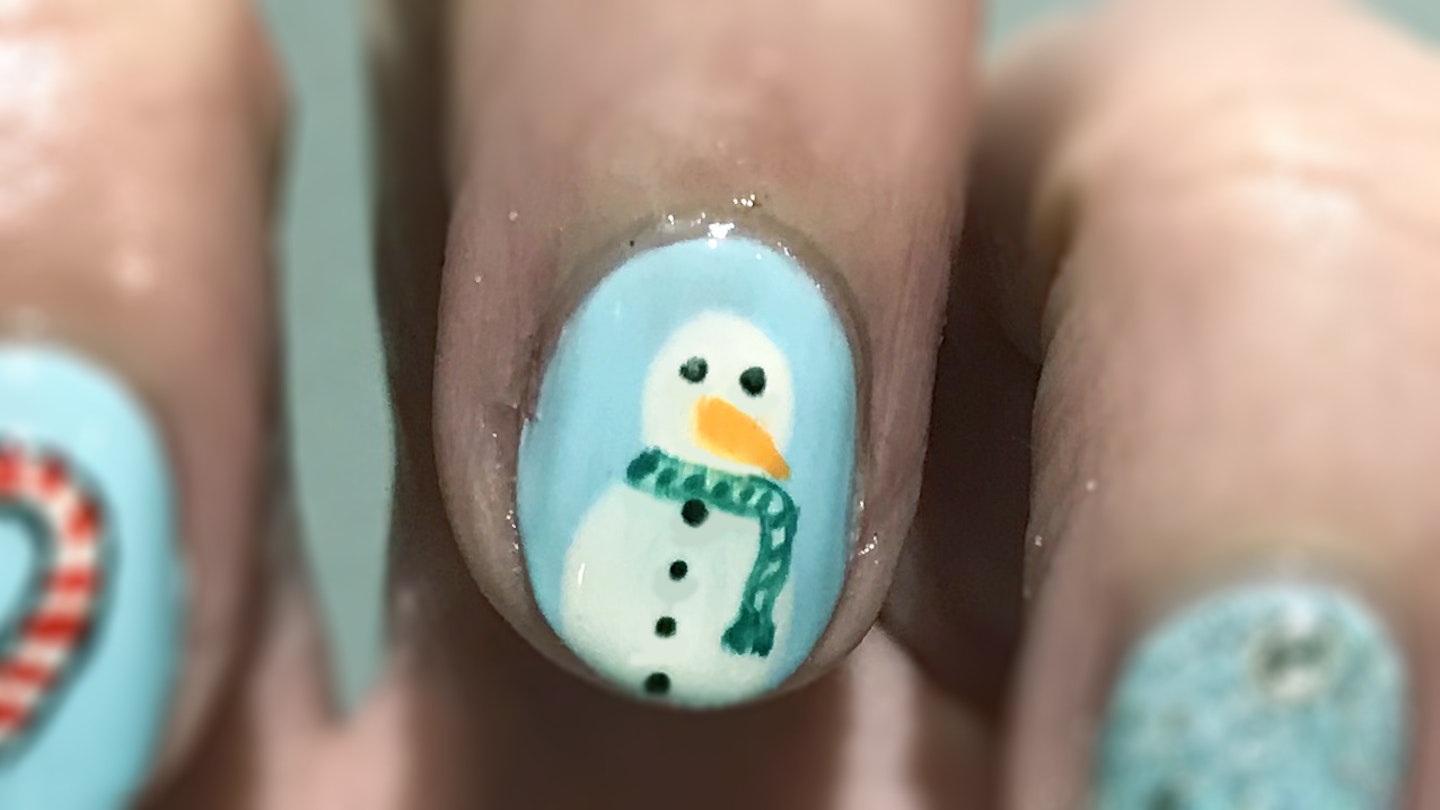
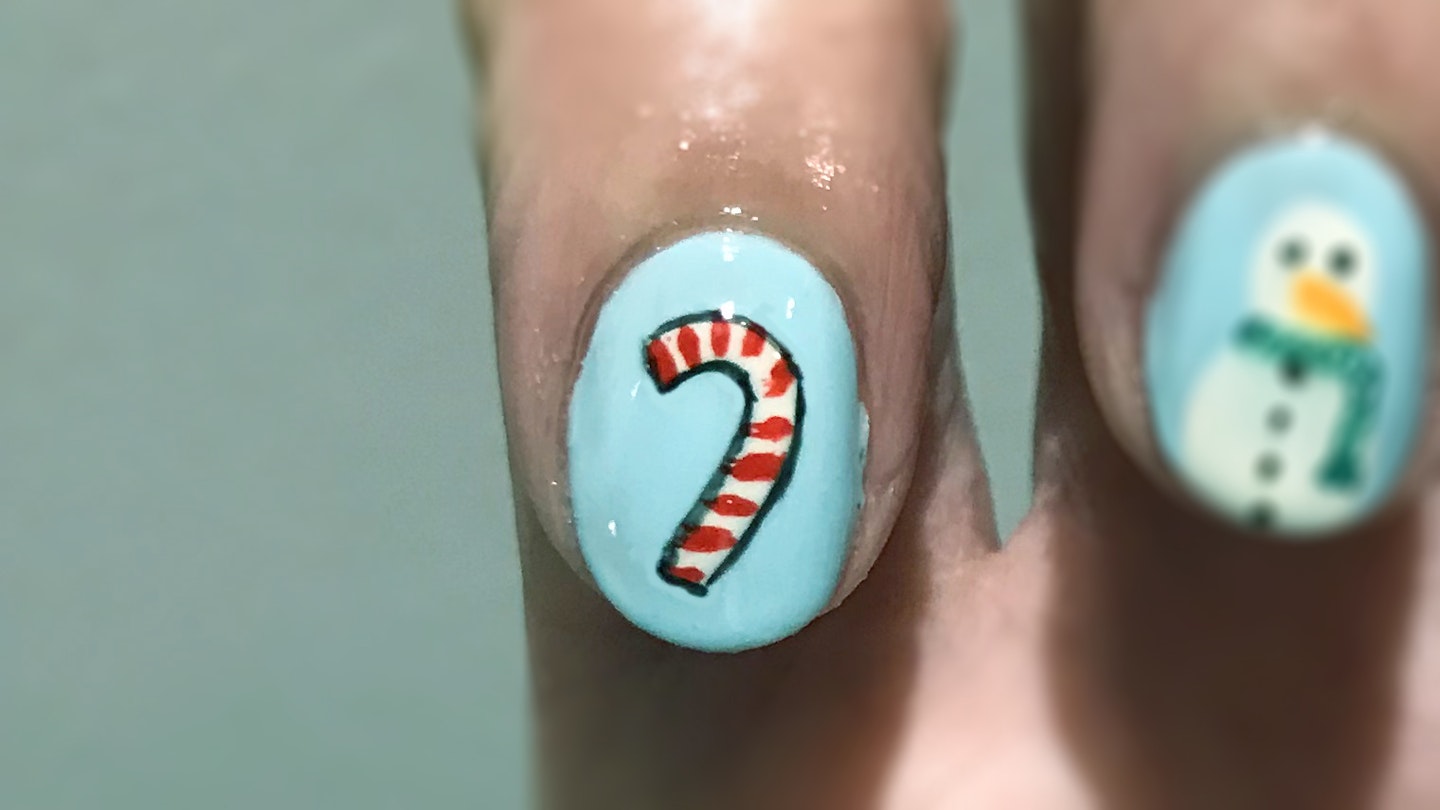
3) Snowman Christmas Nail Art
Step 1: Paint on two white circles with your nail art brush - one slightly bigger than the other - to form the snowman's body and headStep 2: Using a black colour (we've used Gel-Effect Nail Lacquer in Jet Black), dot on the snowman's eyes and buttonsStep 3: Next, use an orange nail polish (we've used the lacquer in Sold Out) to give him a little carrot noseStep 4: To complete your snowman, use both your white colour and another colour for his scarf - we've picked green (Emerald City) to make a scarf out of alternate colours
 4 of 10
4) Candy Cane Christmas Nails
Step 1: Moving onto the next nail, draw the candy cane using the lacquer in your white polish with your nail art brushStep 2: Once dry, add stripes in a red - we've used Hot Chilli. If you smudge the white - don't panic! Just go back over with the white afterwardsStep 3: Paint a black outline around the candy cane using your black polish
 5 of 10
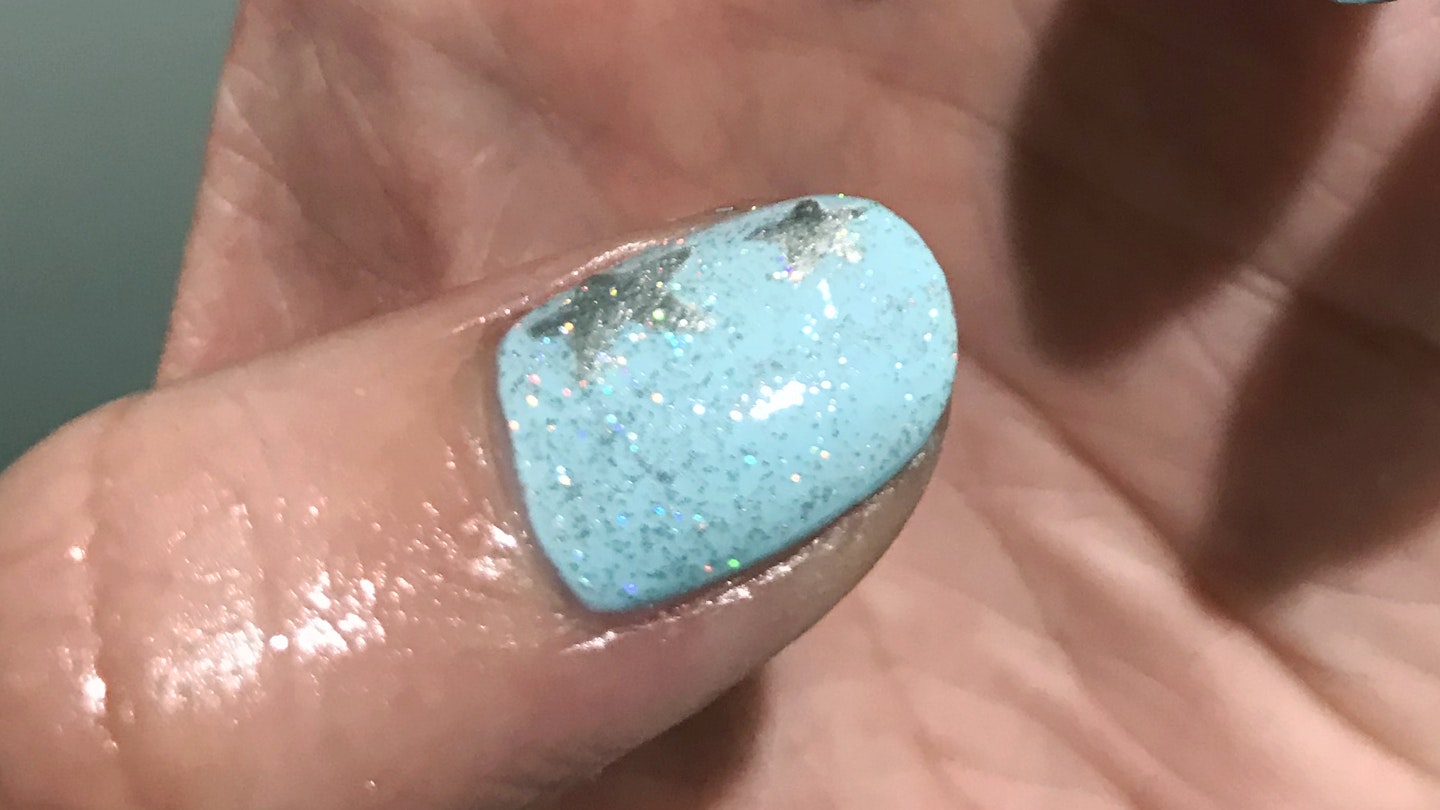
5) Glitter Stars Christmas Nails
Step 1: Begin by painting a glitter polish over your nail (we've used Invitation Only Glitter Top Coat)Step 2: Using your white colour, paint on a couple of randomly-placed stars with your nail art brush - they can be different sizes!Step 3: Once dry, go back over with a metallic silver colour
 6 of 10
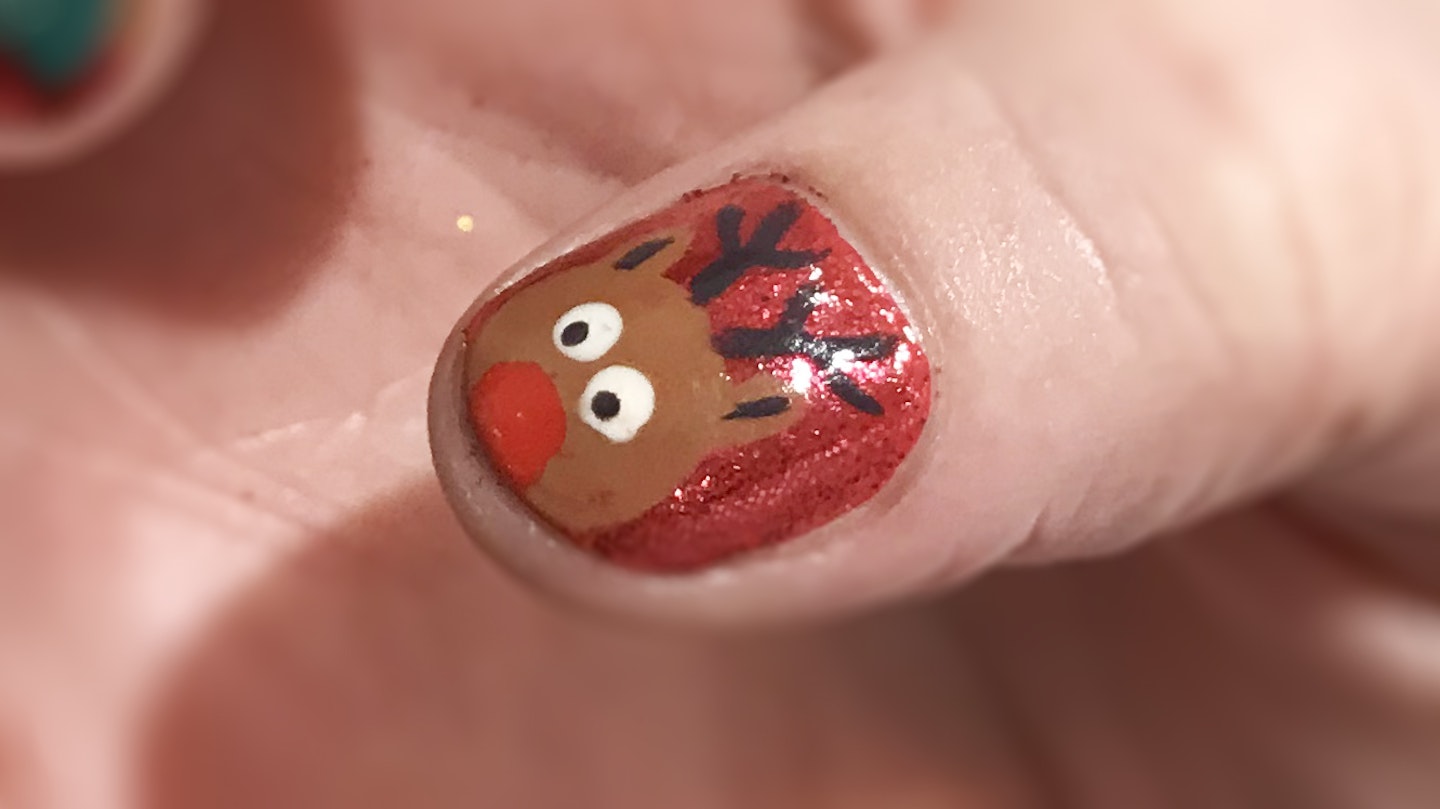
6) Rudolph the Reindeer Christmas Nails
Step 1: Paint a large circle using a middle brown colour (we've used Madison Avenue) with your nail art brush, not forgetting two little ears for Rudolph's headStep 2: Next, apply a big red blob in Hot Chilli at the top of the nail for the noseStep 3: You'll need two white circles for the eyes and then two smaller black dots for the pupils. Using the same black, add detail to the ears and then add the antlers
 7 of 10
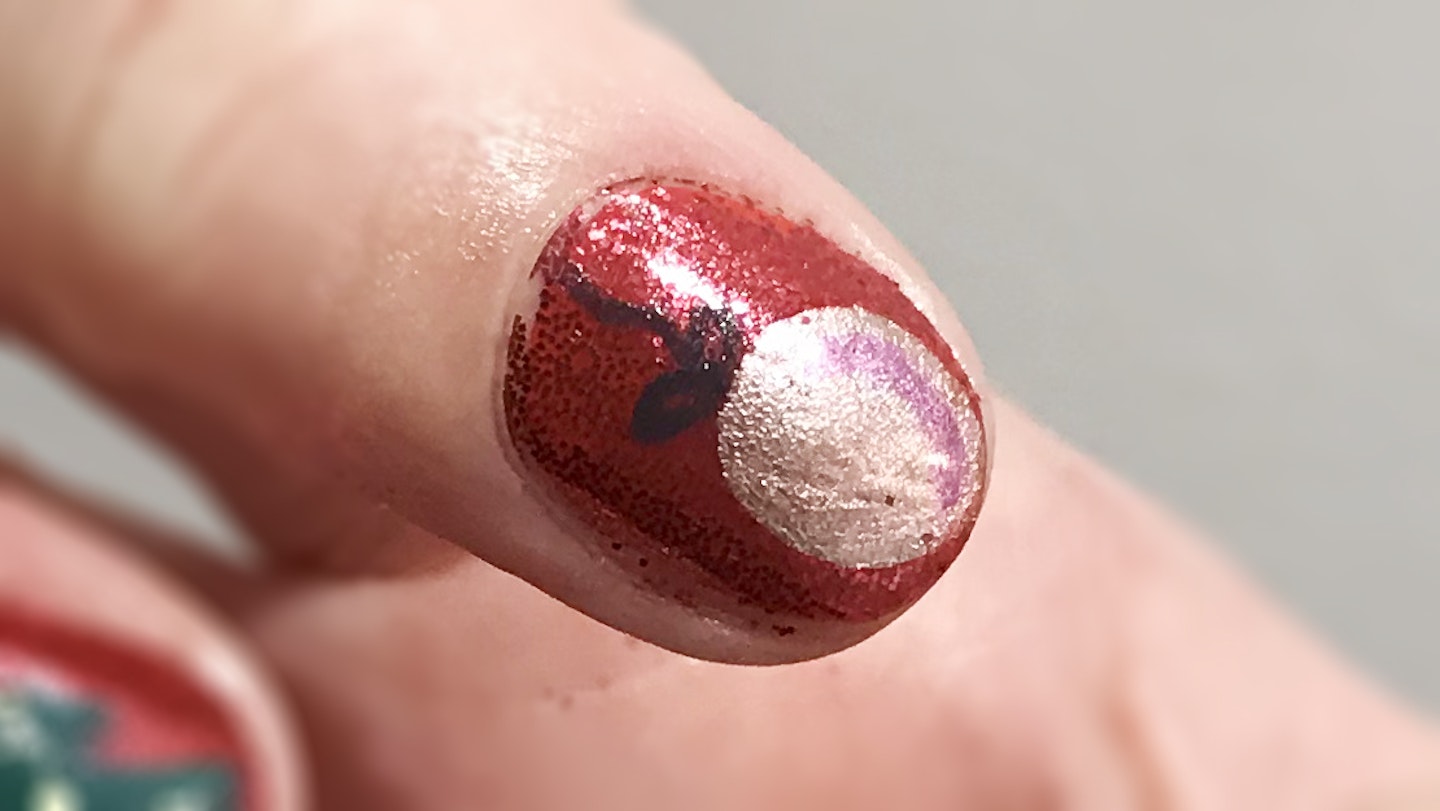
7) Christmas Bauble Nails
Step 1: For a Christmas bauble, you can essentially use any colours you like! We've used Chrome Satin Nail Lacquer in Ball Gown to paint on a bauble shape with the nail art brushStep 2: We then used the Chrome Satin Nail Lacquer in Pink Fizz to add shadowsStep 3: Finish the bauble with a black bow!
 8 of 10
8) Christmas Tree Nails
Step 1: The extra space on your middle nail is perfect for a Christmas Tree. Create the shape using your nail art brush and a dark green colour (we've used Emerald City) then, once dry, add a mix of tinsel and baubles in various shadesStep 2: A tree's not complete without a topper! Pick up a crystal or nail gem with a pair of tweezers and place at the top of the tree
 9 of 10
9) Bow Christmas Nails
Step 1: Again, for a Christmas bow, you can use any different colour you like! We've chosen to match the bauble with Chrome Satin Nail Lacquer in Ball Gown. Use your favourite colour to paint a big bow shape with a nail art brushStep 2: Place a nail gem or crystal in the centre of the bow using a pair of tweezers - dip it in a top coat polish to use as an adhesive
 10 of 10
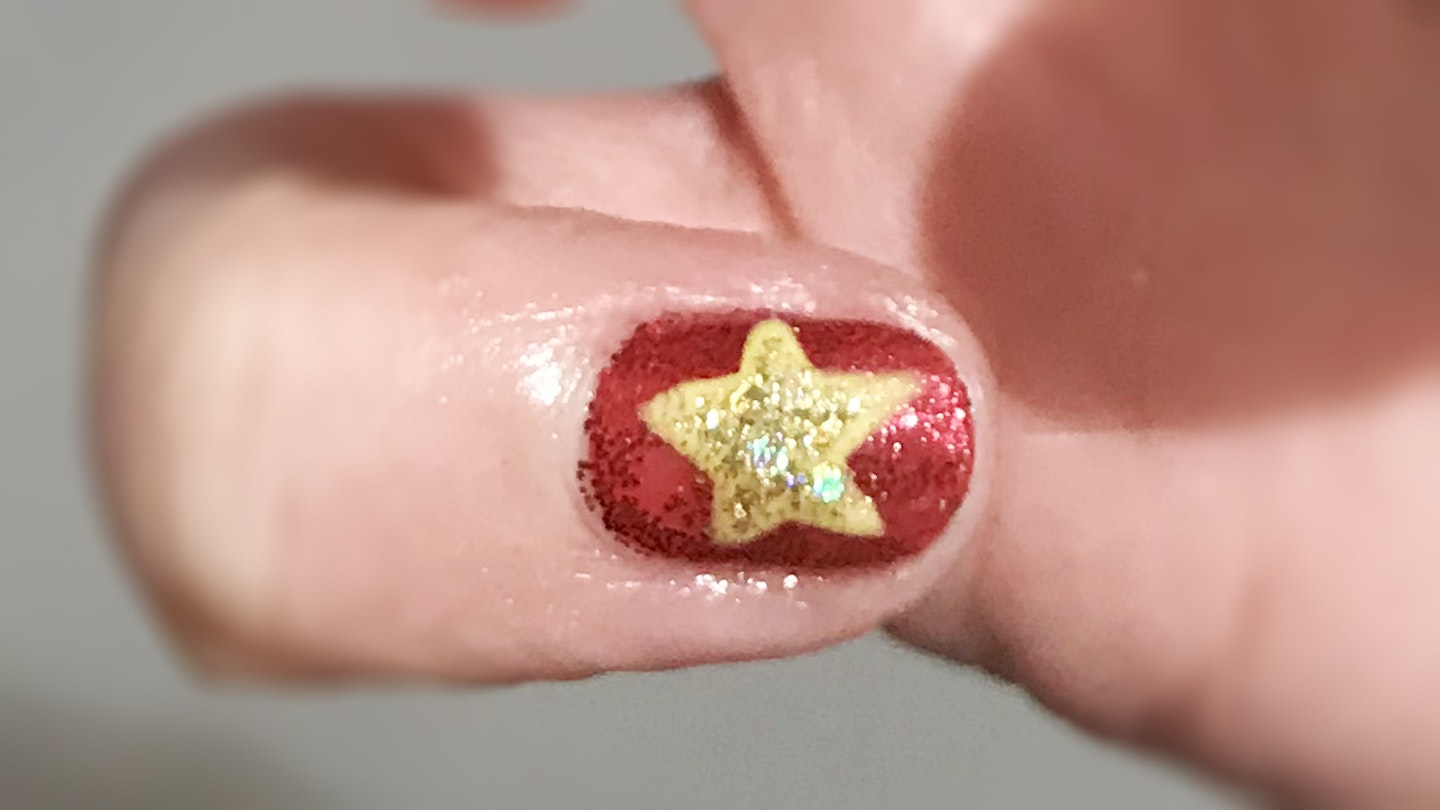
10) Gold Star Christmas Nails
Step 1: Unless you have a metallic gold colour, it will be easier to start off a gold star with a yellow colour. We used Banana Colada to paint on a big star with the nail art brushStep 2: Once that's dry, paint over it in a glitzy gold glitter colourStep 3: Finish by sprinkling some nail glitter over your nail - we've used Nail Art Glitter in Gold
Once you've finished your Christmas nails, go back over them with a top coat (we used Mini Gel Effect Top Coat) to seal in the colour and make everything look super glossy!
Then, once your nails are completely dry, rub a little cuticle oil on them (we usedMini Tropical Cuticle Oil) to prevent dryness, cracking and peeling around your nails.
Et voilà - your Christmas nails are complete!
**Have you tried any of our festive nail designs? We want to see them! Send us your snaps on **Facebook and Twitter.
READ MORE...
Gel nails: How to DIY – and which are the best high street brands?
Christmas DIY: 25 gorgeous Christmas decorations you can make yourself