When you think of Halloween dressing up, tricks or treats and pumpkins spring to mind. Literally, it wouldn’t be Halloween without an orange pumpkin sitting on your doorstep or window sill, grinning, or grimacing, at all the trick or treaters passing by.
But how do you go about carving your own grinning jack-o’-lantern?
Well, we've got all the answers for you. Whether you're a first-time pumpkin carver or an experienced pro, here's all the pumpkin carving tips you need to make yours the best in the neighbourhood.
Look this way…
Where to buy Halloween pumpkins
If you aren't organised enough to grow your own Halloween pumpkin (let's face it, who is?) then you'll need to buy one.
Don't worry if you've left it until the last minute as most of the supermarket chains sell pumpkins the right size for carving. Of course, you're going to want to have time to actually carve your pumpkin so make sure you leave enough time to get your perfect specimen and so that you're not rushing.
Remember you'll also need a suitable knife - you'll need something strong and long (not too long though) with a serrated edge.

Preparing your pumpkin
First things first, let’s look at the basics.
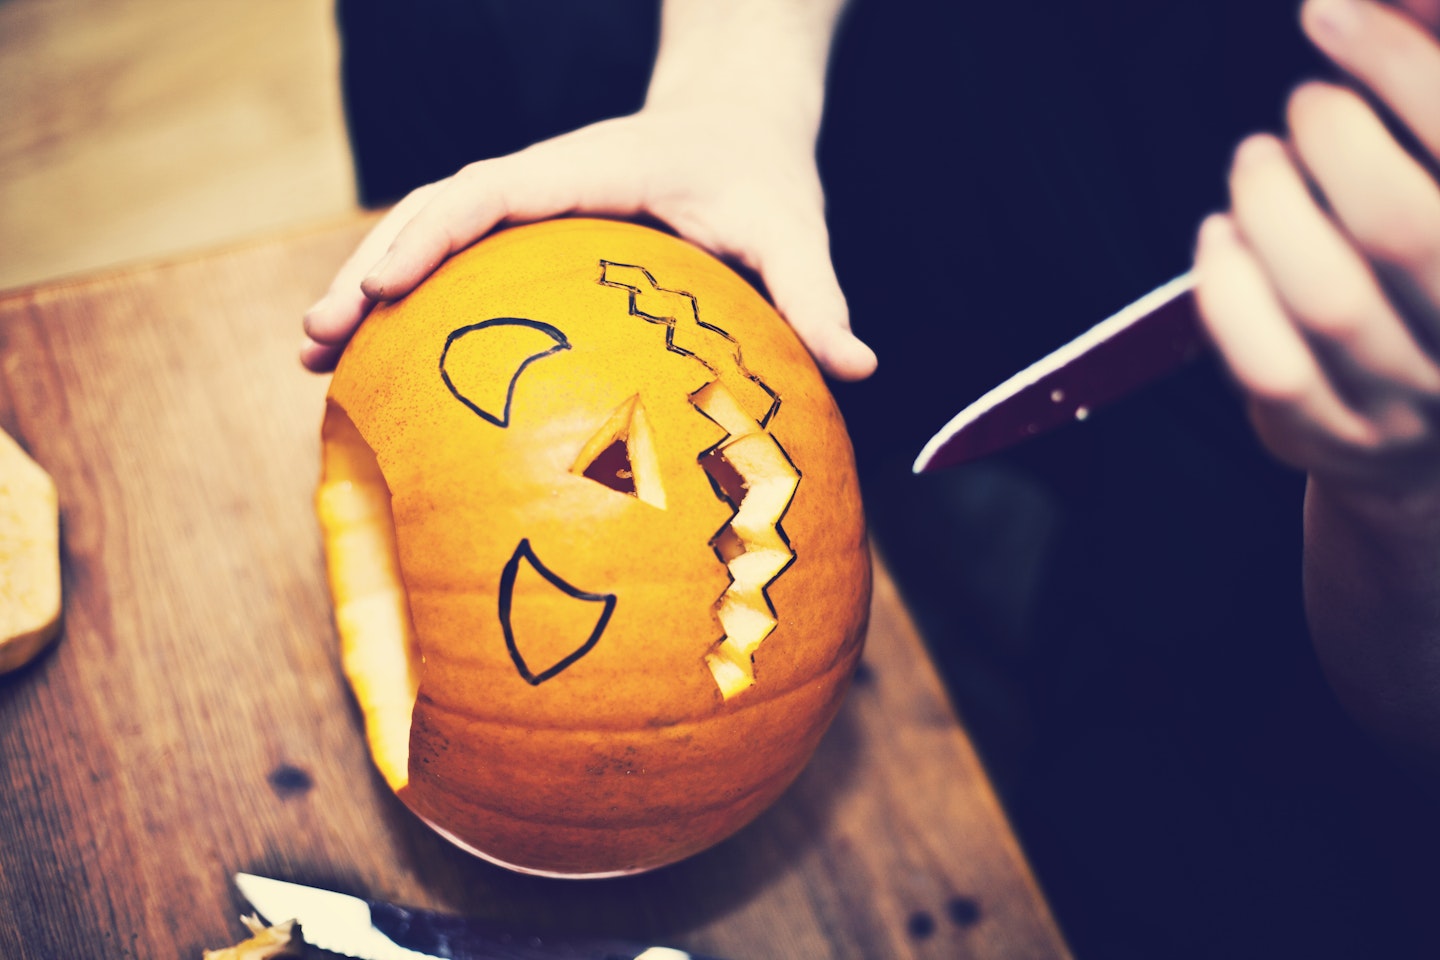
Use a serrated knife to cut a hole into your pumpkin. Always remember to never leave knives lying around - we all know little ones love to get involved at every stage but it's really important to keep an adult eye on things.
TOP TIP: If you will be using a candle, cut the hole in the top. If you’re using electric fairy lights, make a hole in the bottom or the side of your pumpkin, so you can hide the wires.
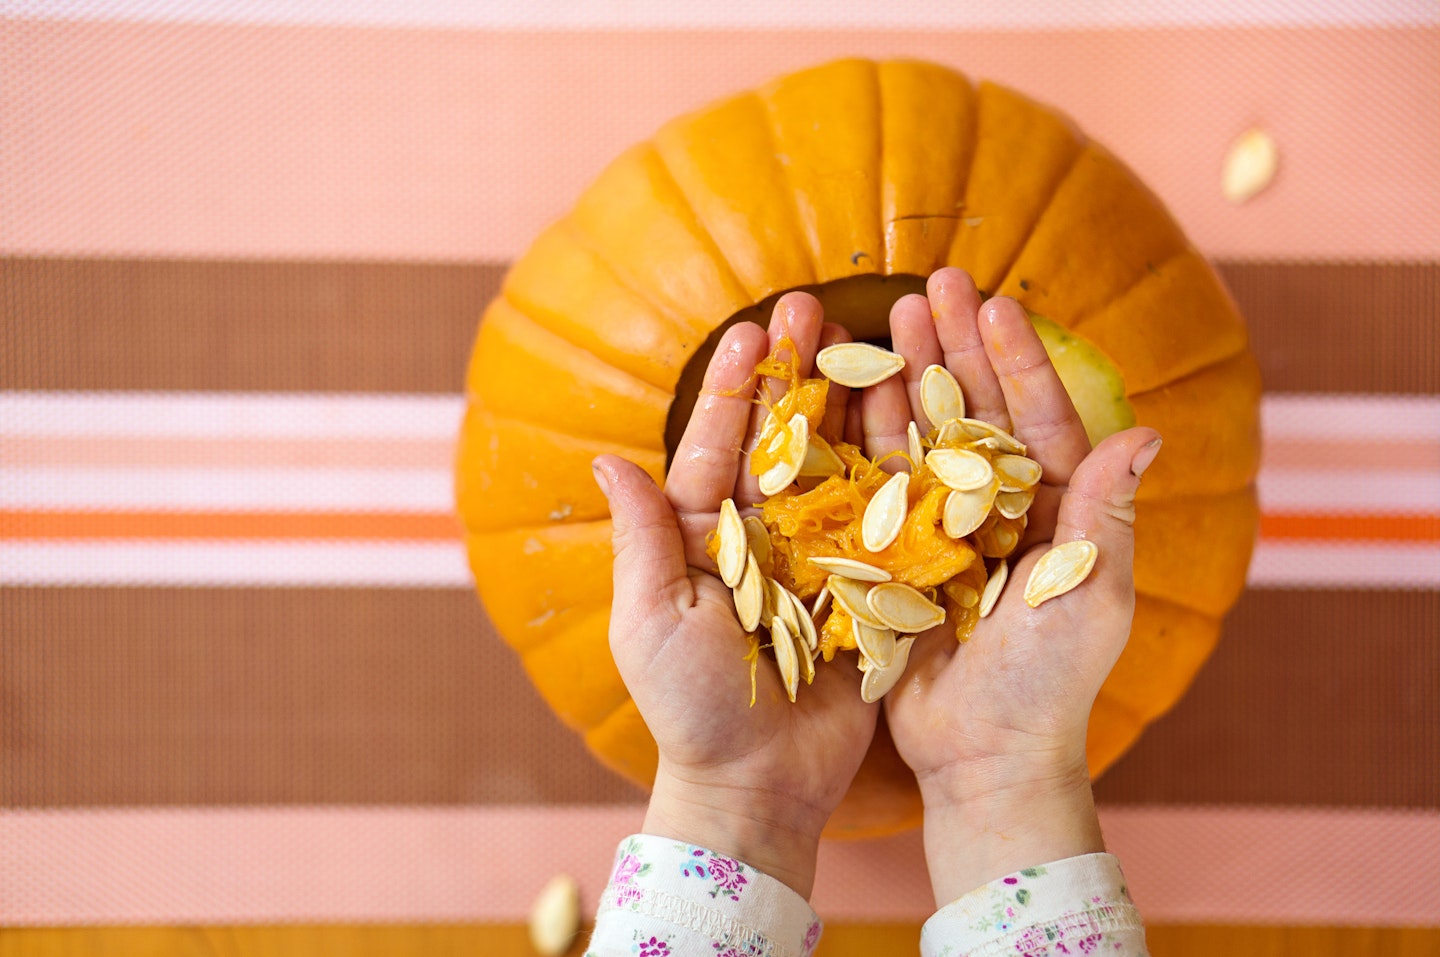
Scoop out the flesh, pulp, and seeds, using a large spoon.
Using a marker pen, draw a simple face outline onto your pumpkin and cut out the eyes, nose and mouth using a small serrated knife.

Using pumpkin carving stencils
Decide on your design (there are plenty of easy printable templates to choose from at Pumpkin Lady) and print it off.
Using sellotape, stick your printed design to the pumpkin, and trace the design by poking holes with a needle tool or T-pin.
Remove the template and carve along the pattern using a miniature saw, drill or sharp bread knife.
TIP: Always cut away from you in case the knife slips.
Pop a candle or electric fairy lights inside your pumpkin and voila.
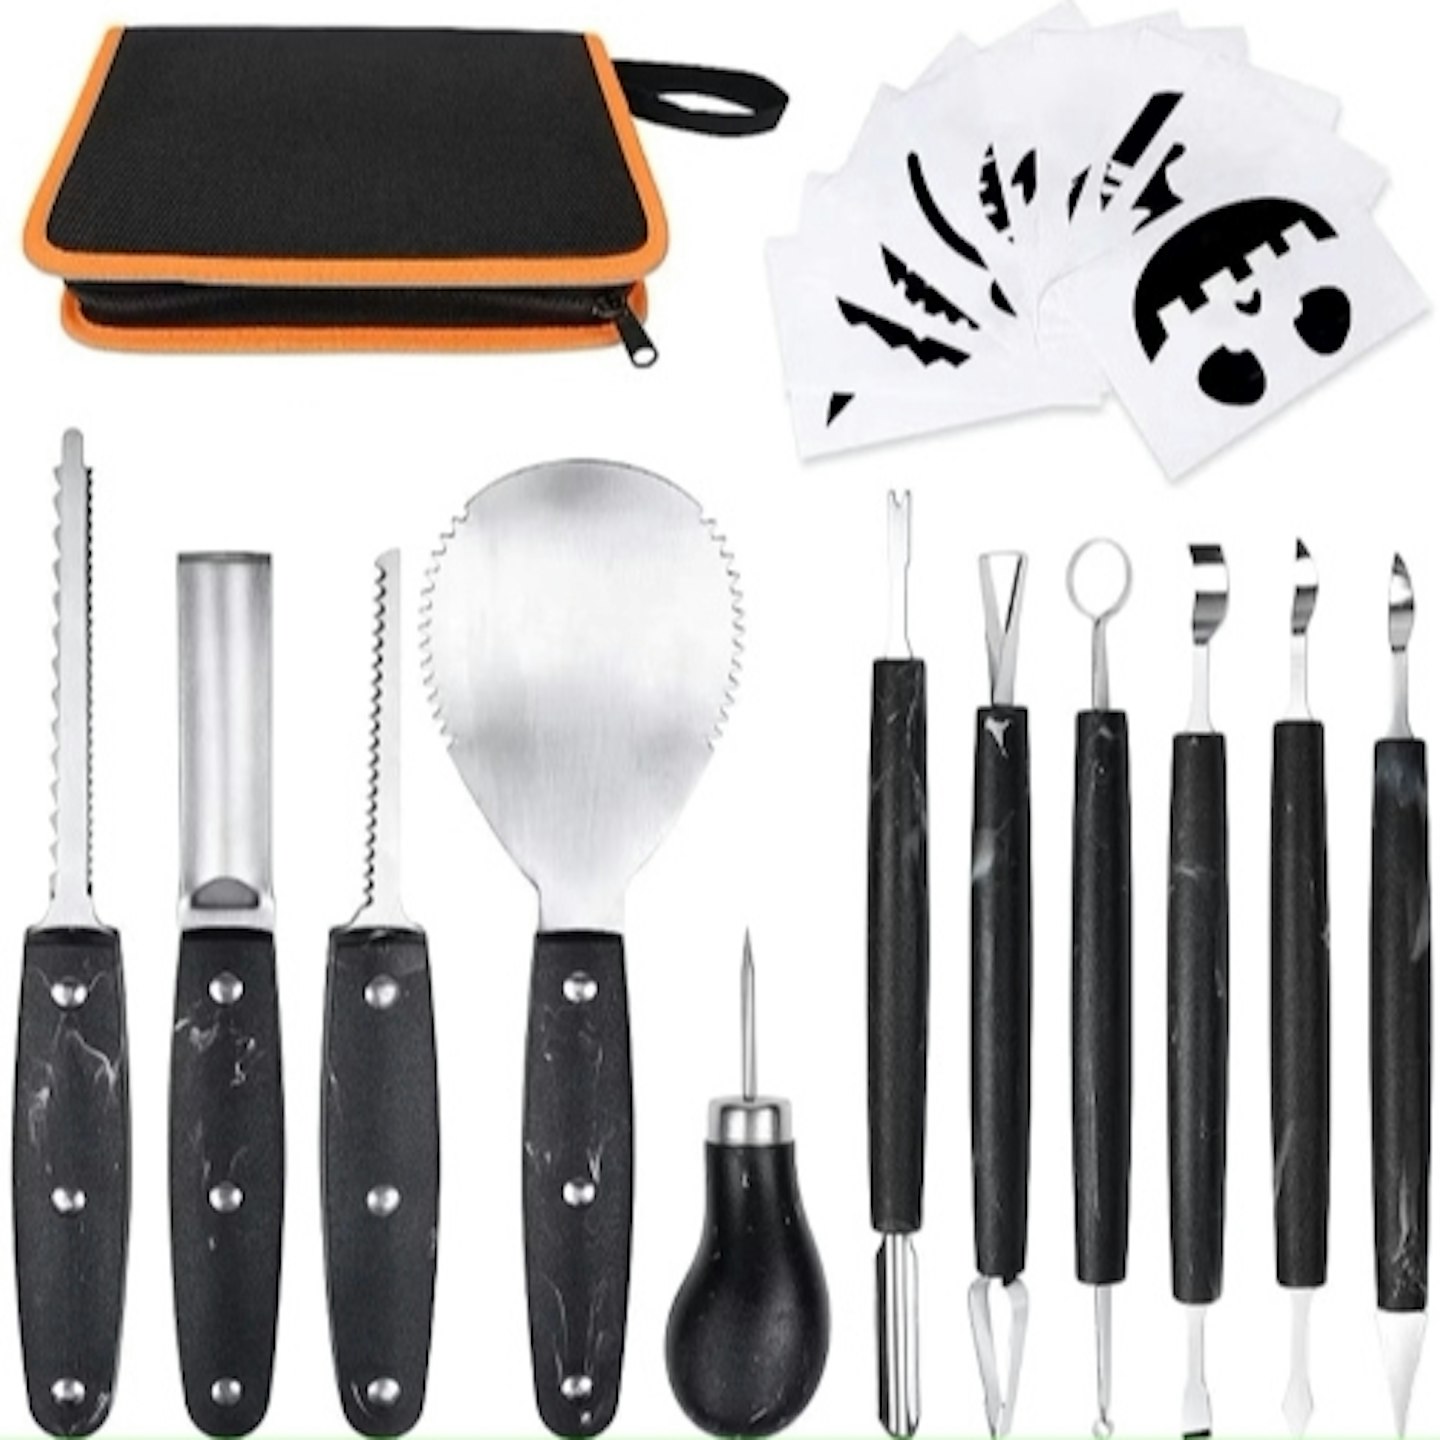
Check out where to buy the best pumpkin carving kits and equipment
Our picks of the best pumpkin carving picks you can buy on Amazon
If you've got kids this set is the perfect child-proof option for you.

For ambitious pumpkin artists, try this professional-looking set from Amazon.
This cute kit comes with four LED candles, so you don't need to faff about trying to light your tea lights.
This high quality kit is great for advanced carvers.
Read more
Hey boo-tiful! Here's all the best Halloween-themed food you need this year
12 Holly Willoughby Halloween costumes - from the fun to the freaky
Now watch: “Listen, I deserve an Oscar" Shaughna speaks her Love Island truth
Top tips for a perfectly carved pumpkin
When you're cutting the lid of your pumpkin, make sure to cut a hole big enough so you can get your hand inside to do any scooping out or finishing touches.
Go slowly when you're carving - the last thing you need is a trip to A&E...
It's best to start small and make bigger cuts as you go - you can always chop more off but one it's gone, it's gone.


