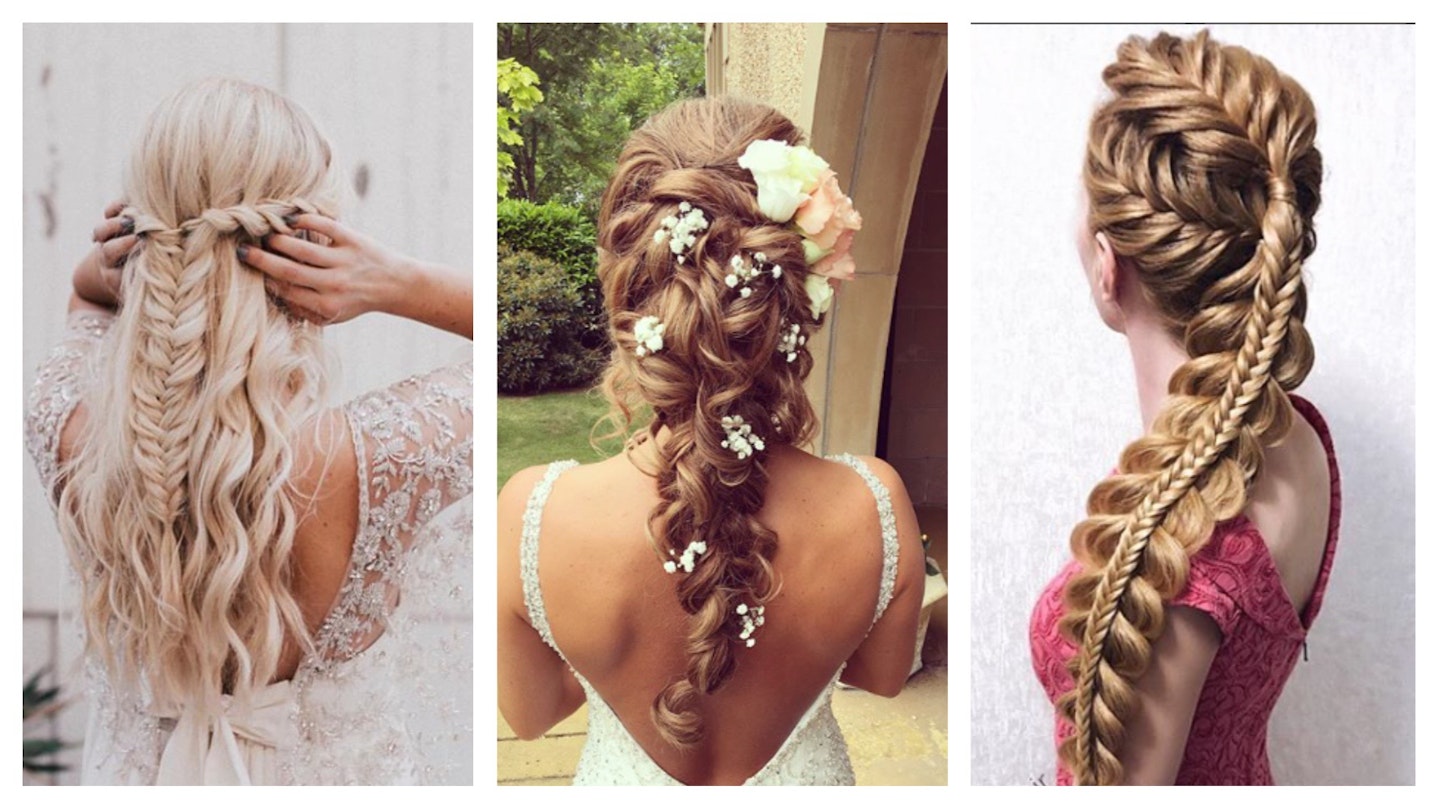
Getting bored of going to weddings with the classic cascading curls and messy buns? We'll show you how to get the perfect braid in eight easy steps...
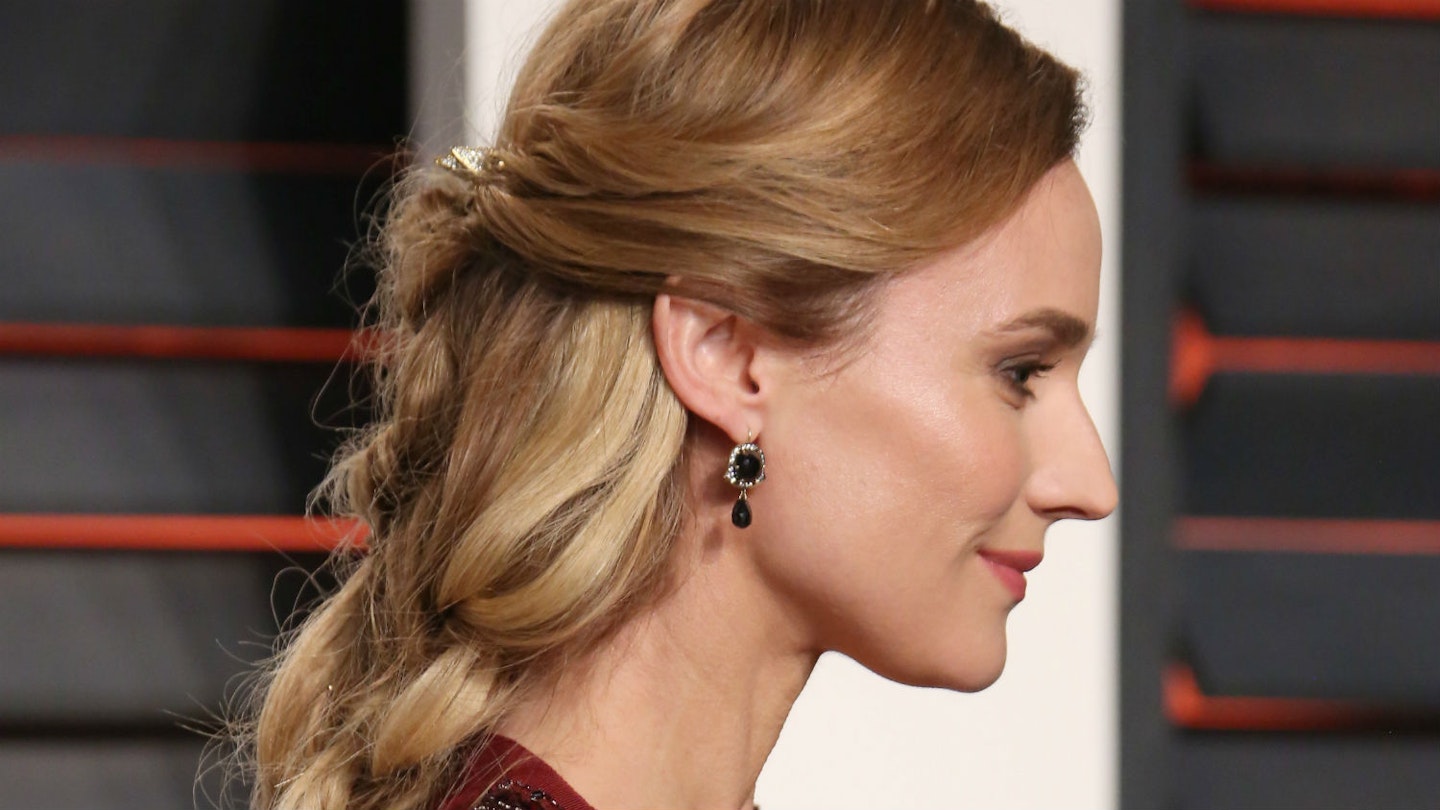
Intricate braids have been big on the red carpet this summer with A-Listers such as Diane Kruger, Katy Perry and Beyonce all showing off their sassy plaits on the red carpet.
Now Beauty and Melody founder Elena Hachaturianc tells Closer that it's the perfect style to wear to a big bash.
She says: "Braids are so feminine and you can do so many different styles with them, they are perfect for any occasion. They can also be done quickly so there's no need to panic about getting ready on time!
"Plaits looks better with longer hair so if you don't have this naturally, you could use clip in hair extensions or in our salon we have Russian Tape hair extensions which add hair length as well as volume.
"They are really low maintenance and the glue used on the tape is flexible and comfortable as it doesn't pull on the hair or weigh it down, therefore limiting damage. They last four-six weeks.
"Many celebs opt for extensions because they give such a glamorous finish and really give you that extra boost."
Ready to try your hand at the wedding guest braid? Read on...
A step-by-step guide to wedding guest braids:
How to create the ultimate braid:
 1 of 8
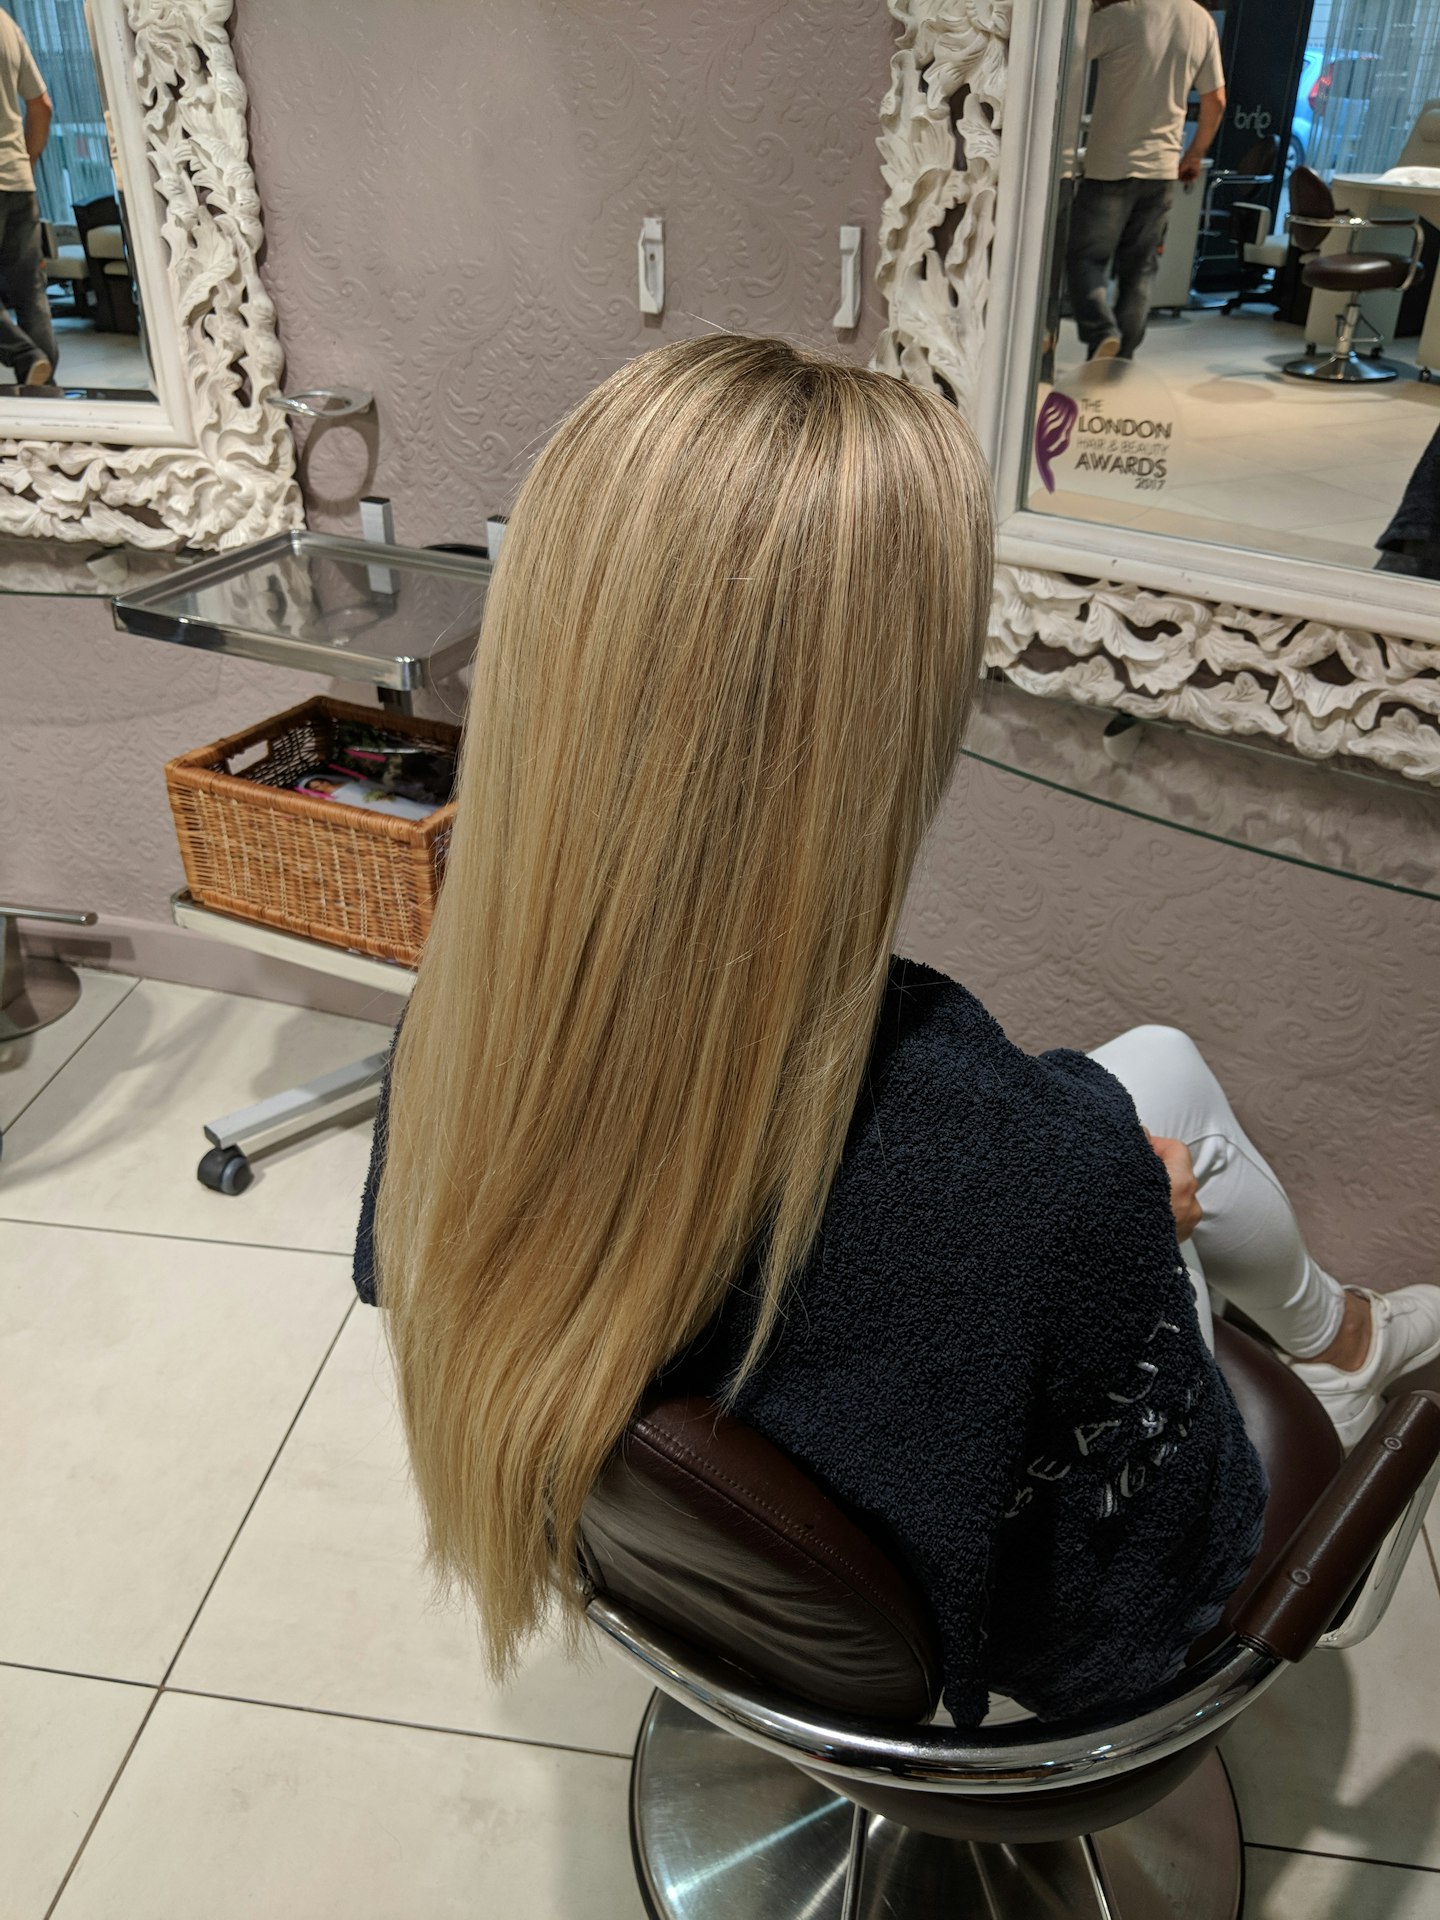
Step 1
Before you start styling the hair, you need to make sure that it has been blow dried straight without any kinks. Before blowdrying, apply the TRESemmé Heat Defence Spray to your hair to protect it from damage from heated styling tools. Once blowdried, create a centre parting.
 2 of 8
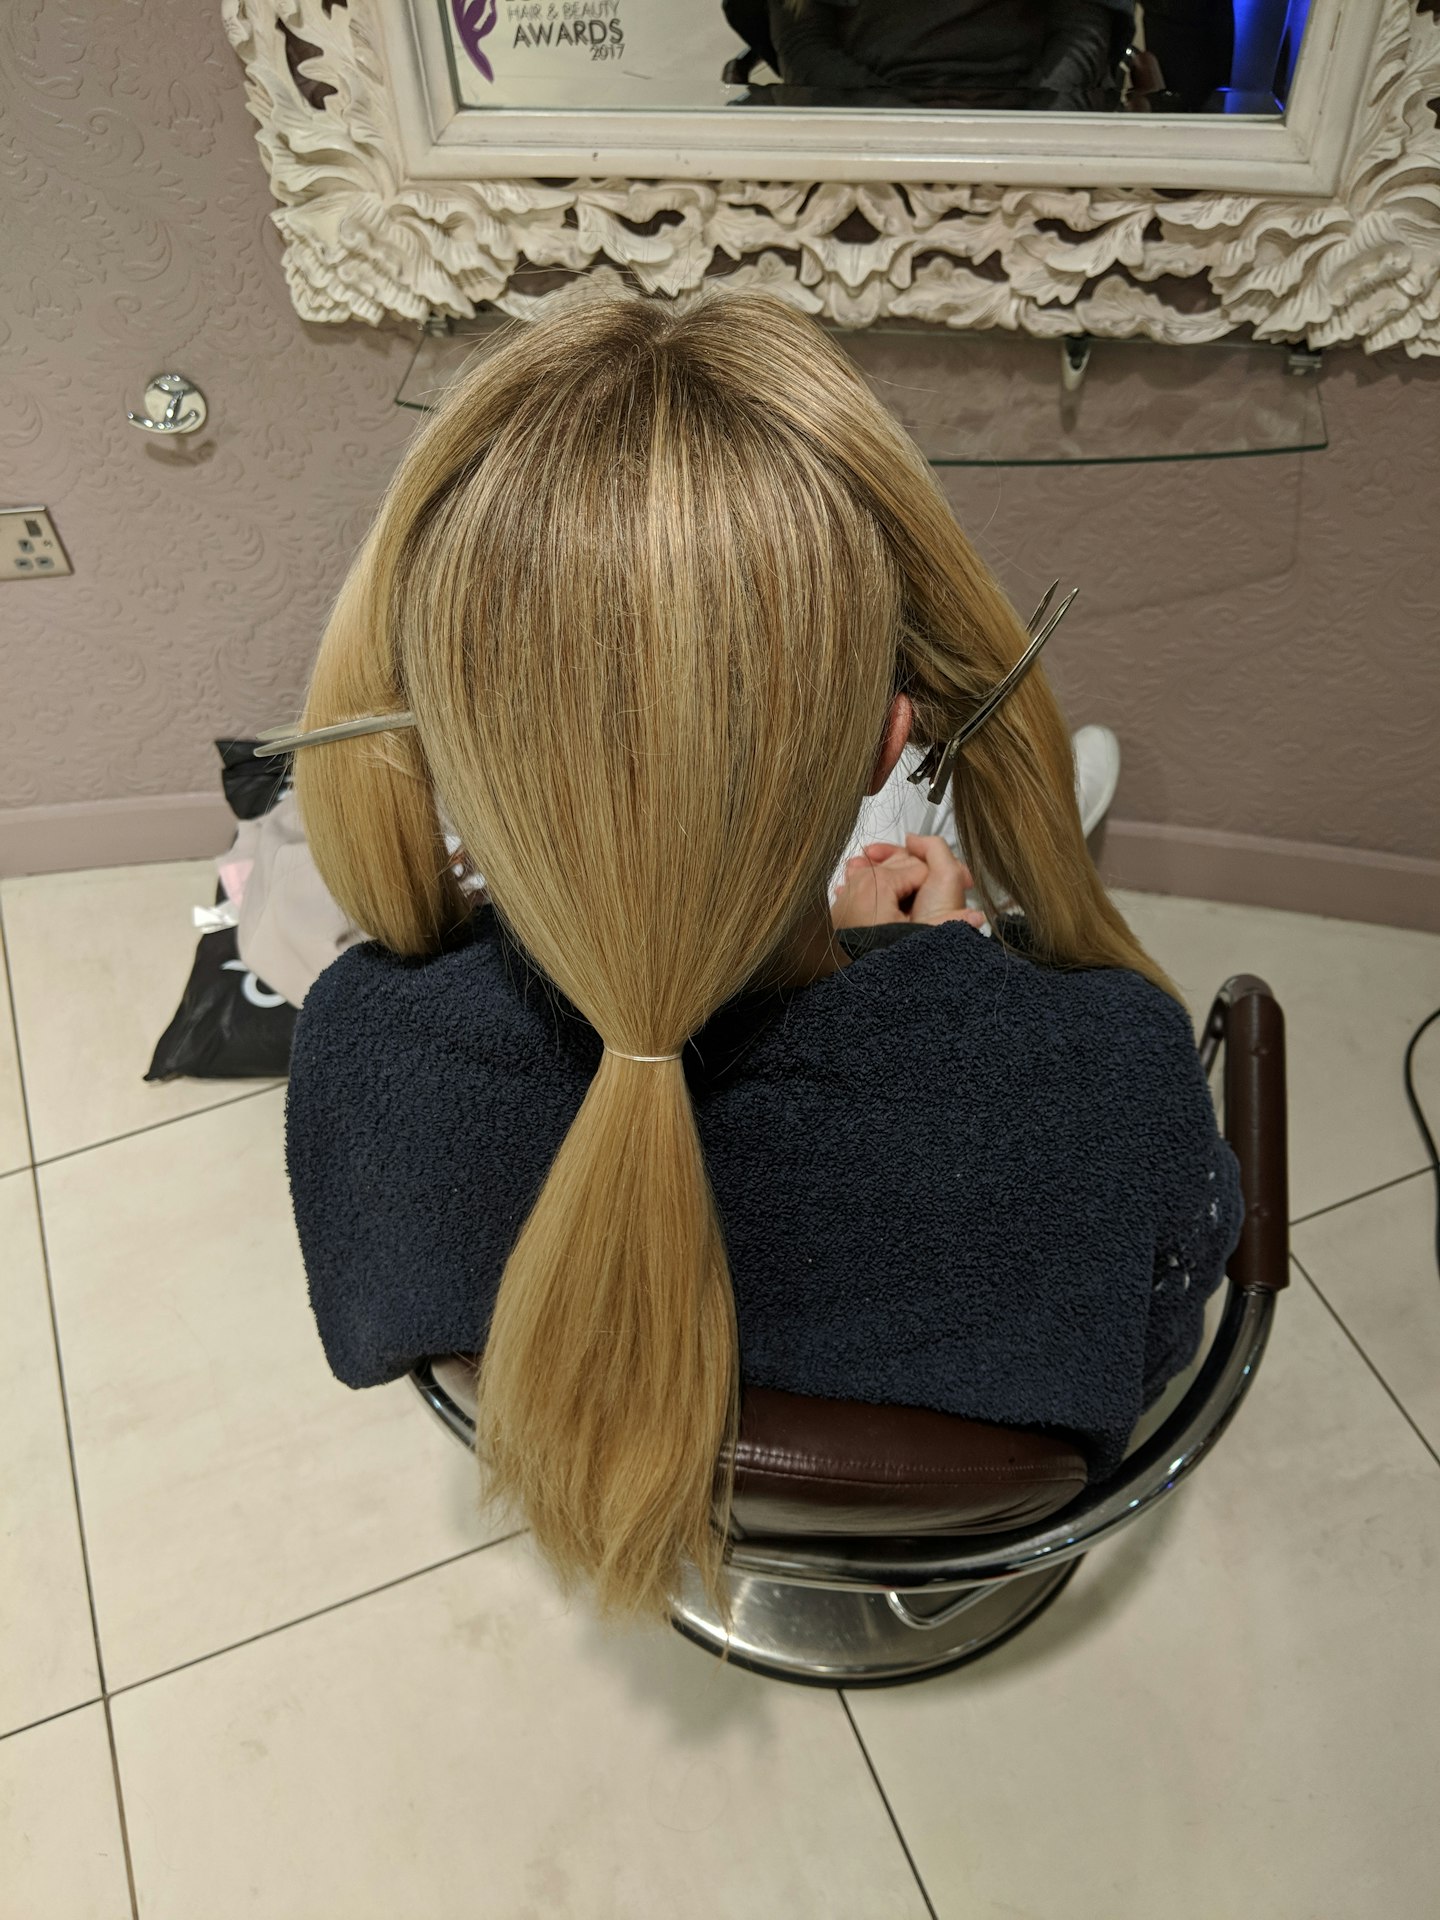
Step 2
Section the hair evenly from the centre parting into three sections and create a ponytail at the back. Lightly backbrush the crown area of the hair to give it a bit of lift. Also backcomb the sides and put a touch of hairspray on the loose strands at the front. Always use hairspray lightly as you don't want the style to look too stiff.
 3 of 8
Step 3
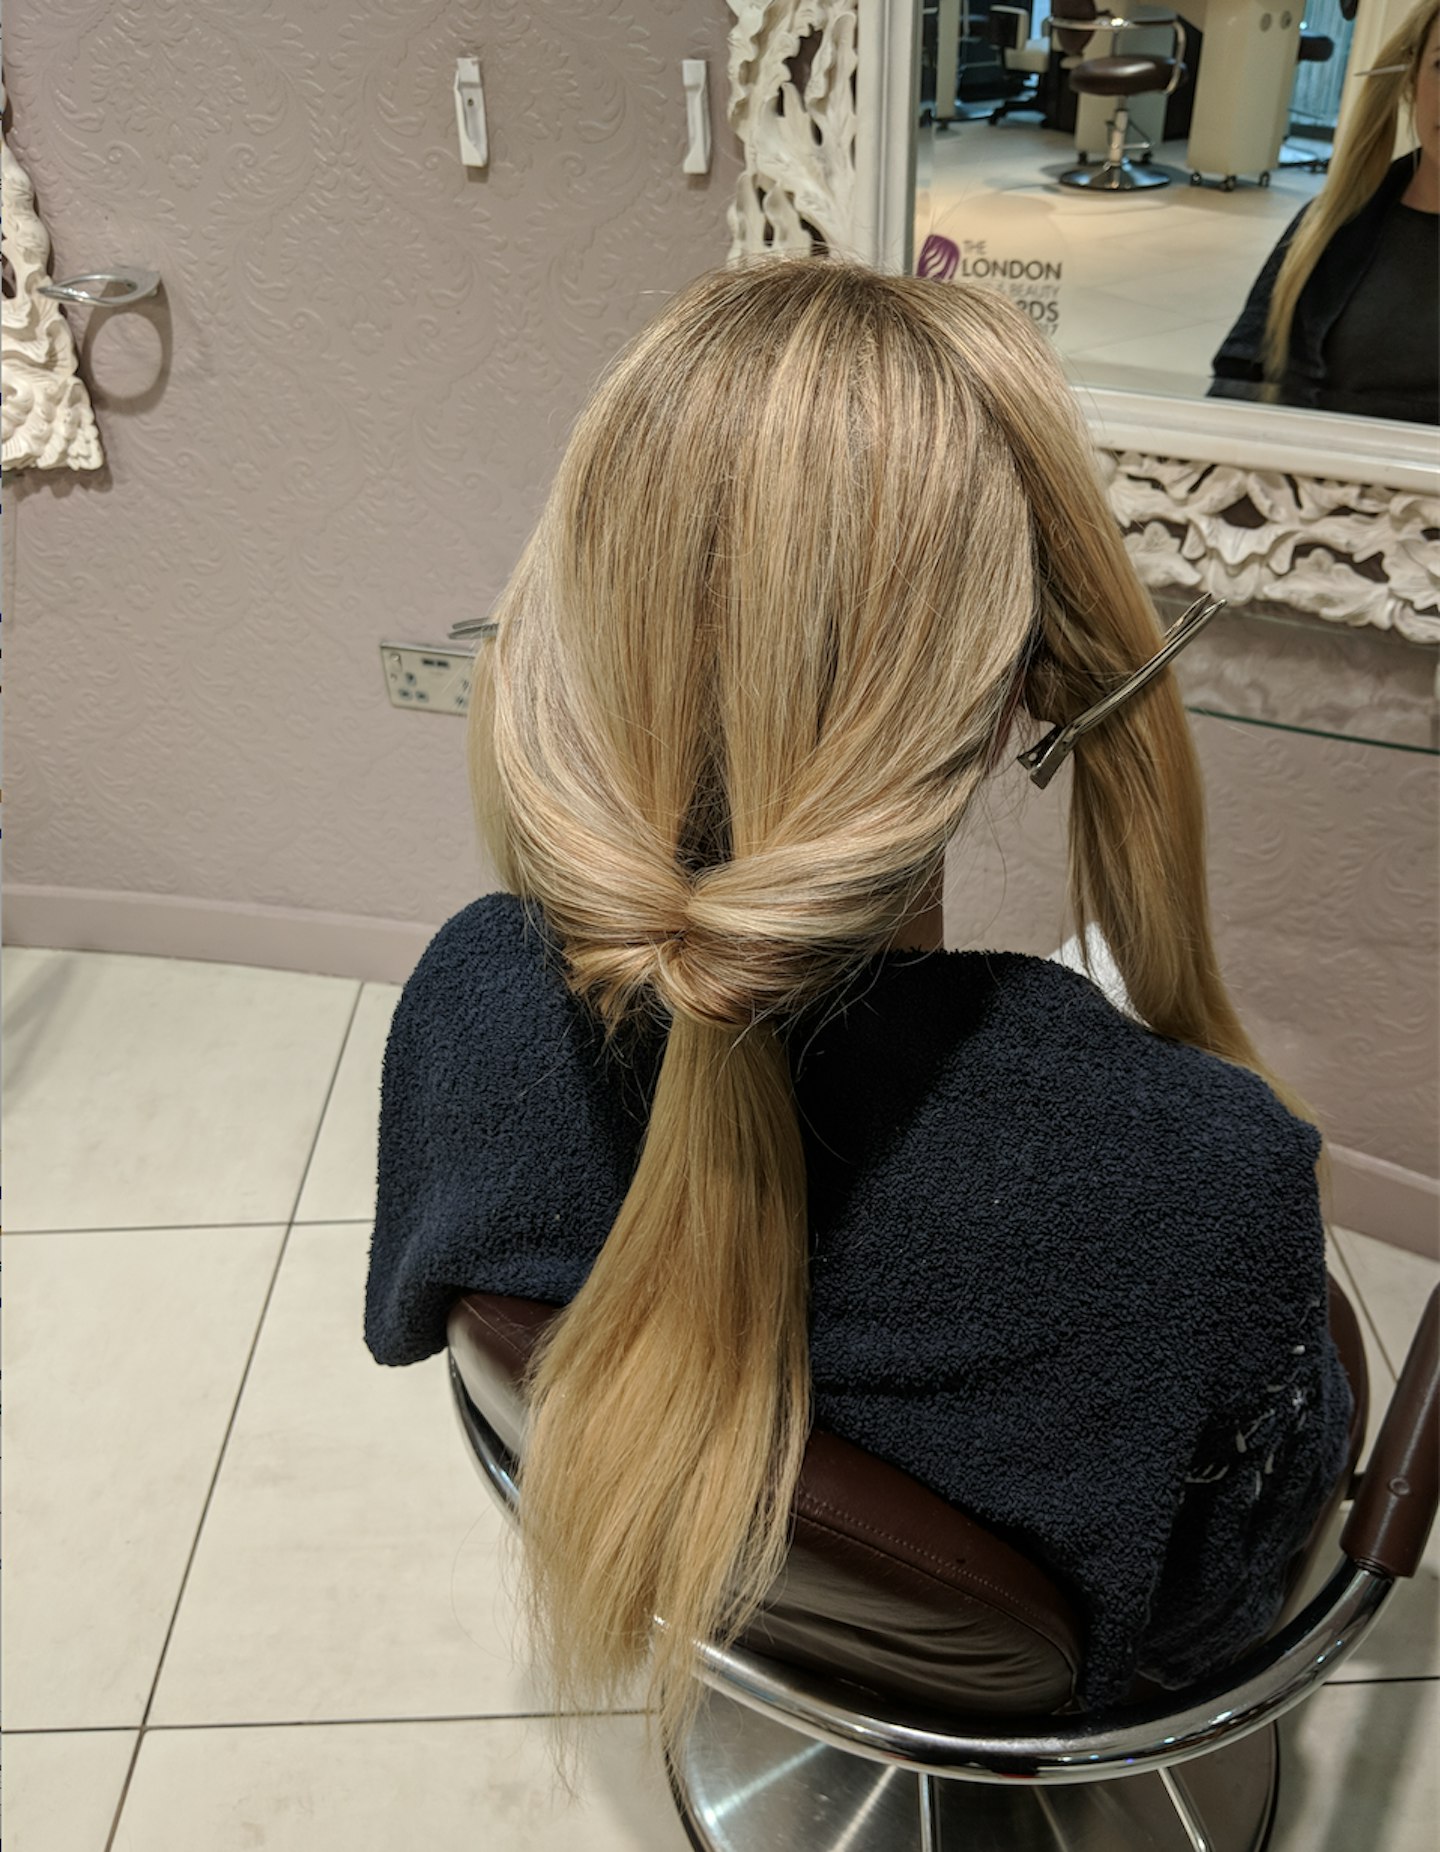
Make a hole at the back of the ponytail and thread the ponytail through it.
 4 of 8
Step 4
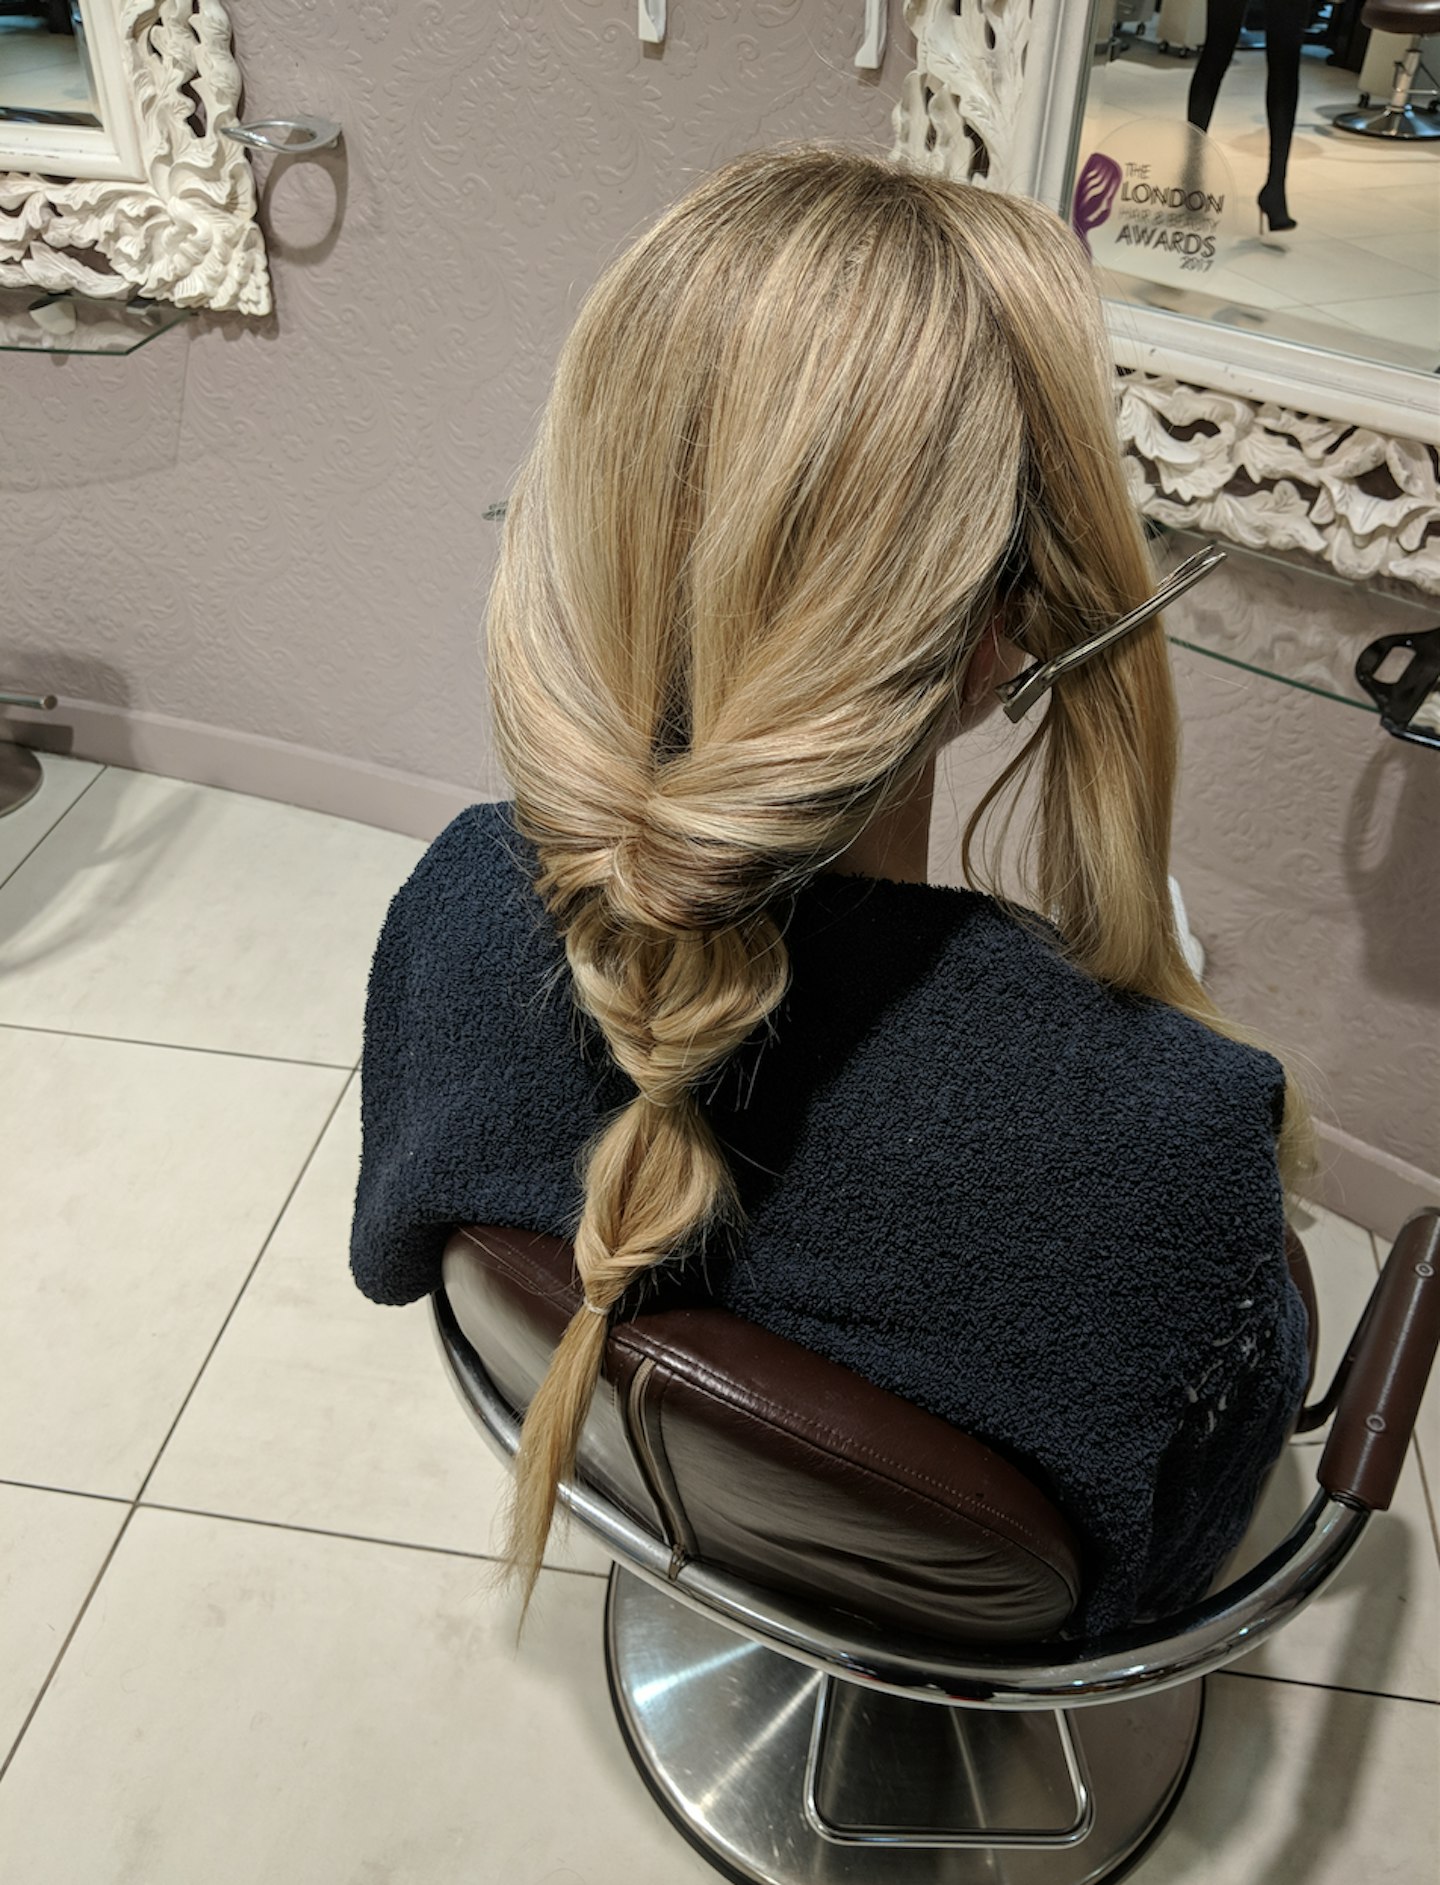
Repeat this two or three times by creating more holes further down and threading through the hair. The longer the hair, the more you will be able to repeat this. Spray lightly to make sure it sets and use a see-through band at the end.
 5 of 8
Step 5
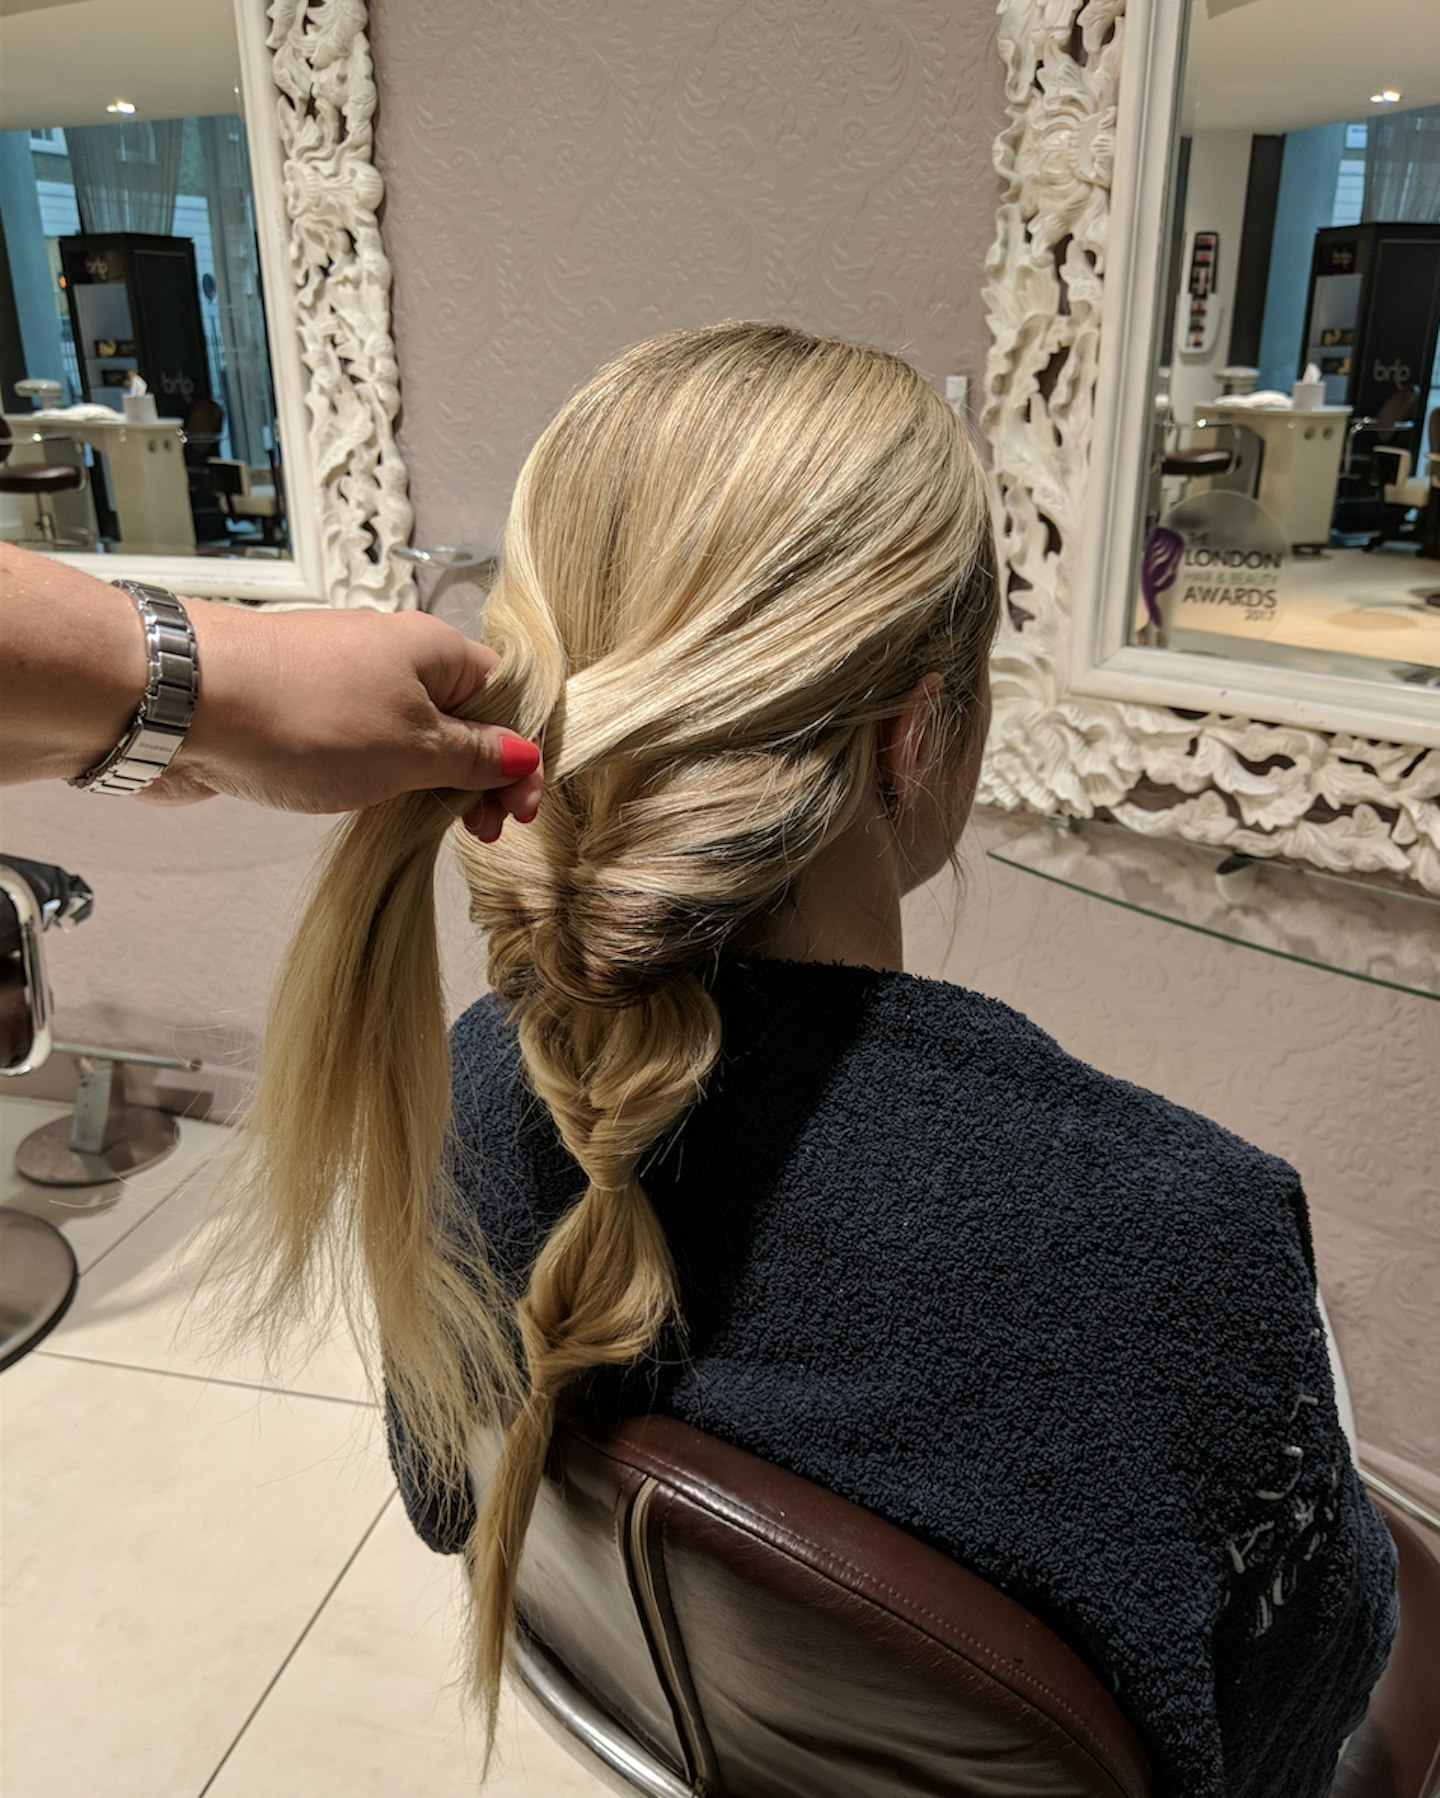
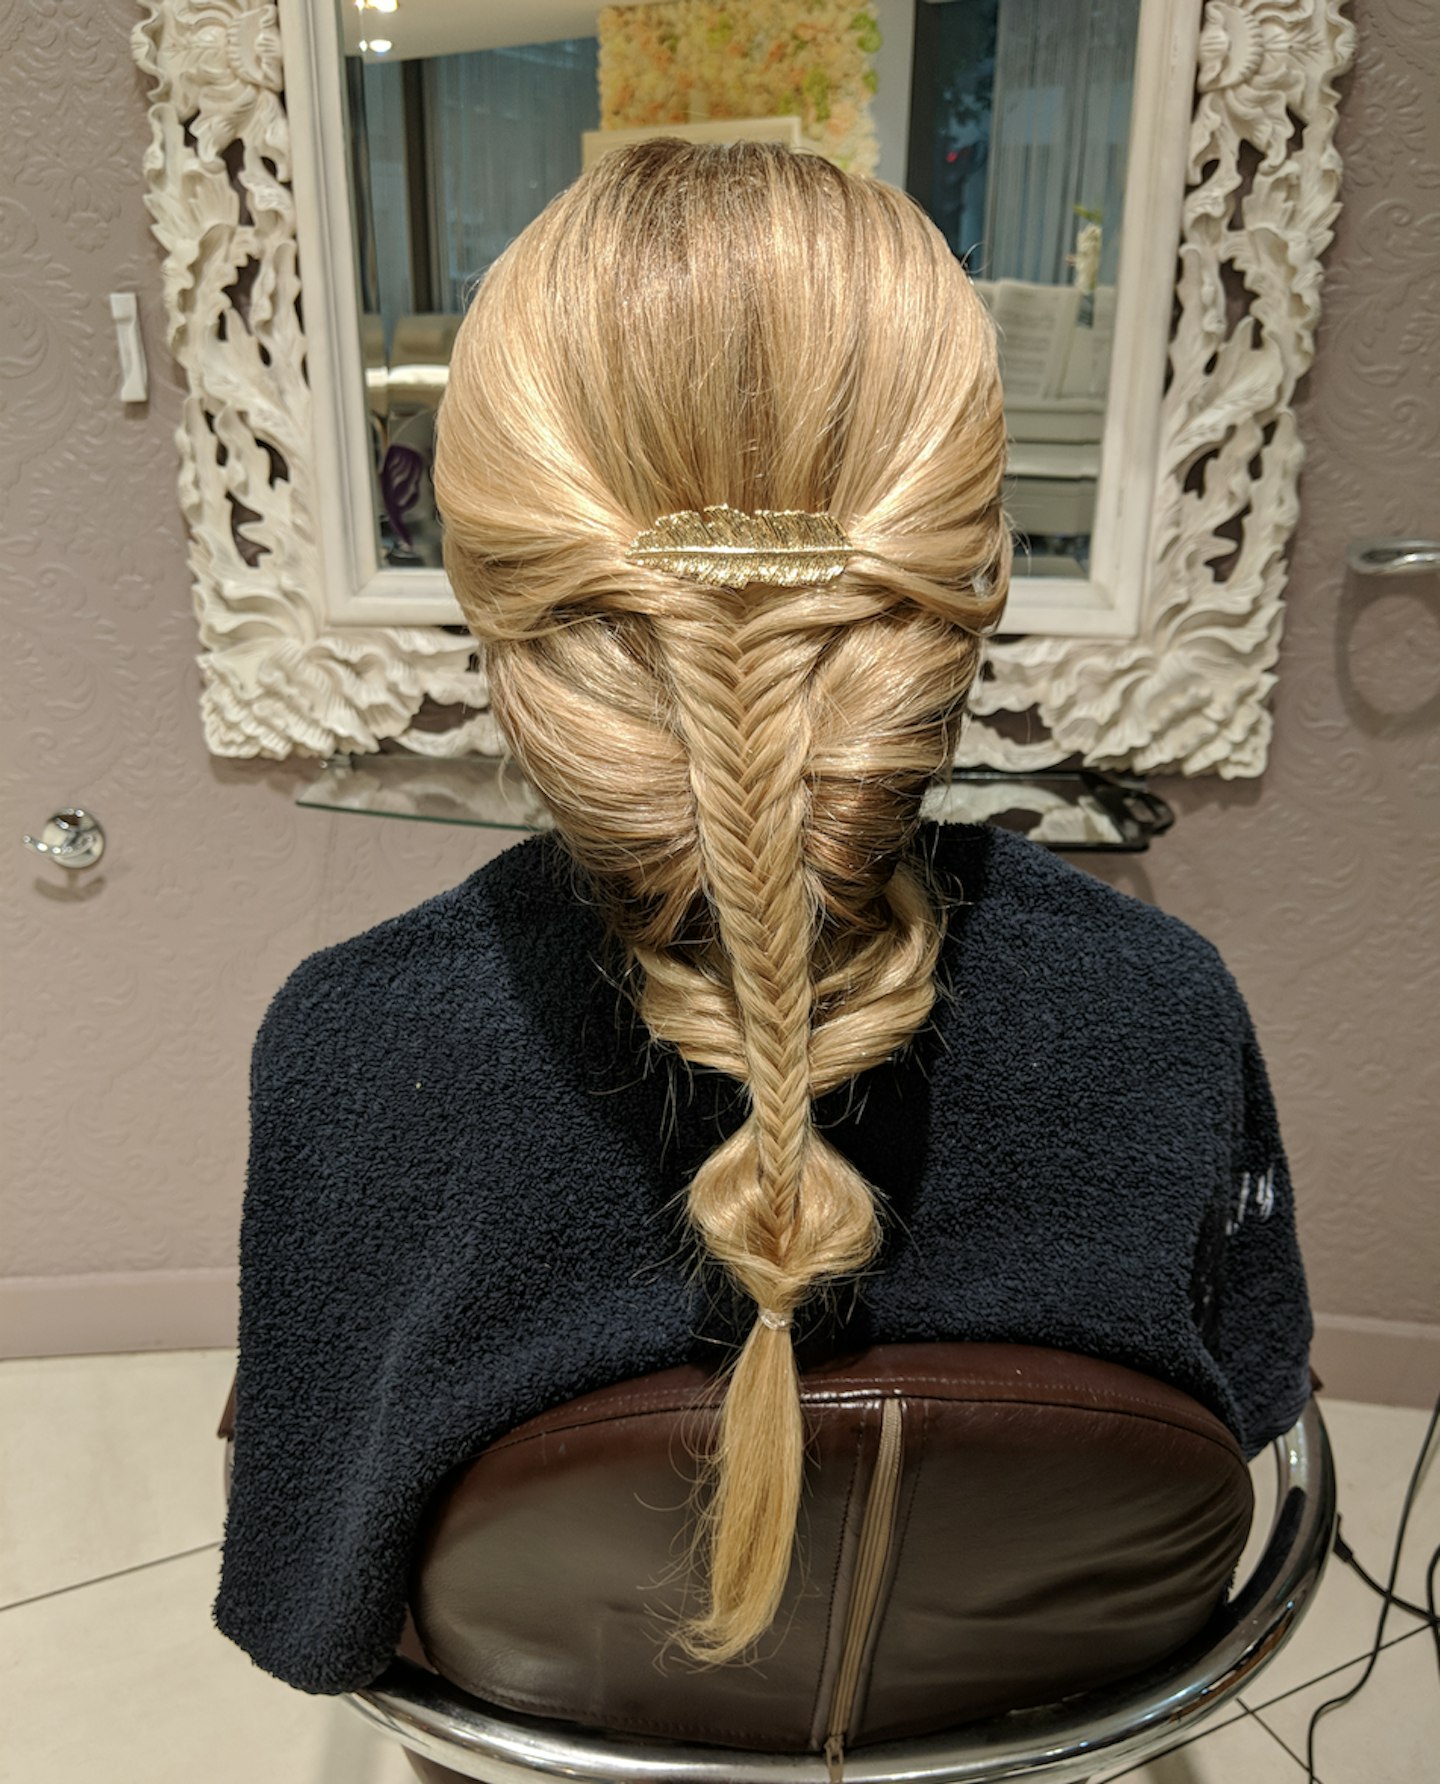
Take the two remaining pieces of hair and do a fishtail plait down the centre. Do not loosen the fishtail at this stage because it will naturally loosen up. Try to keep the same thickness when doing the fishtail.
 6 of 8
Step 6
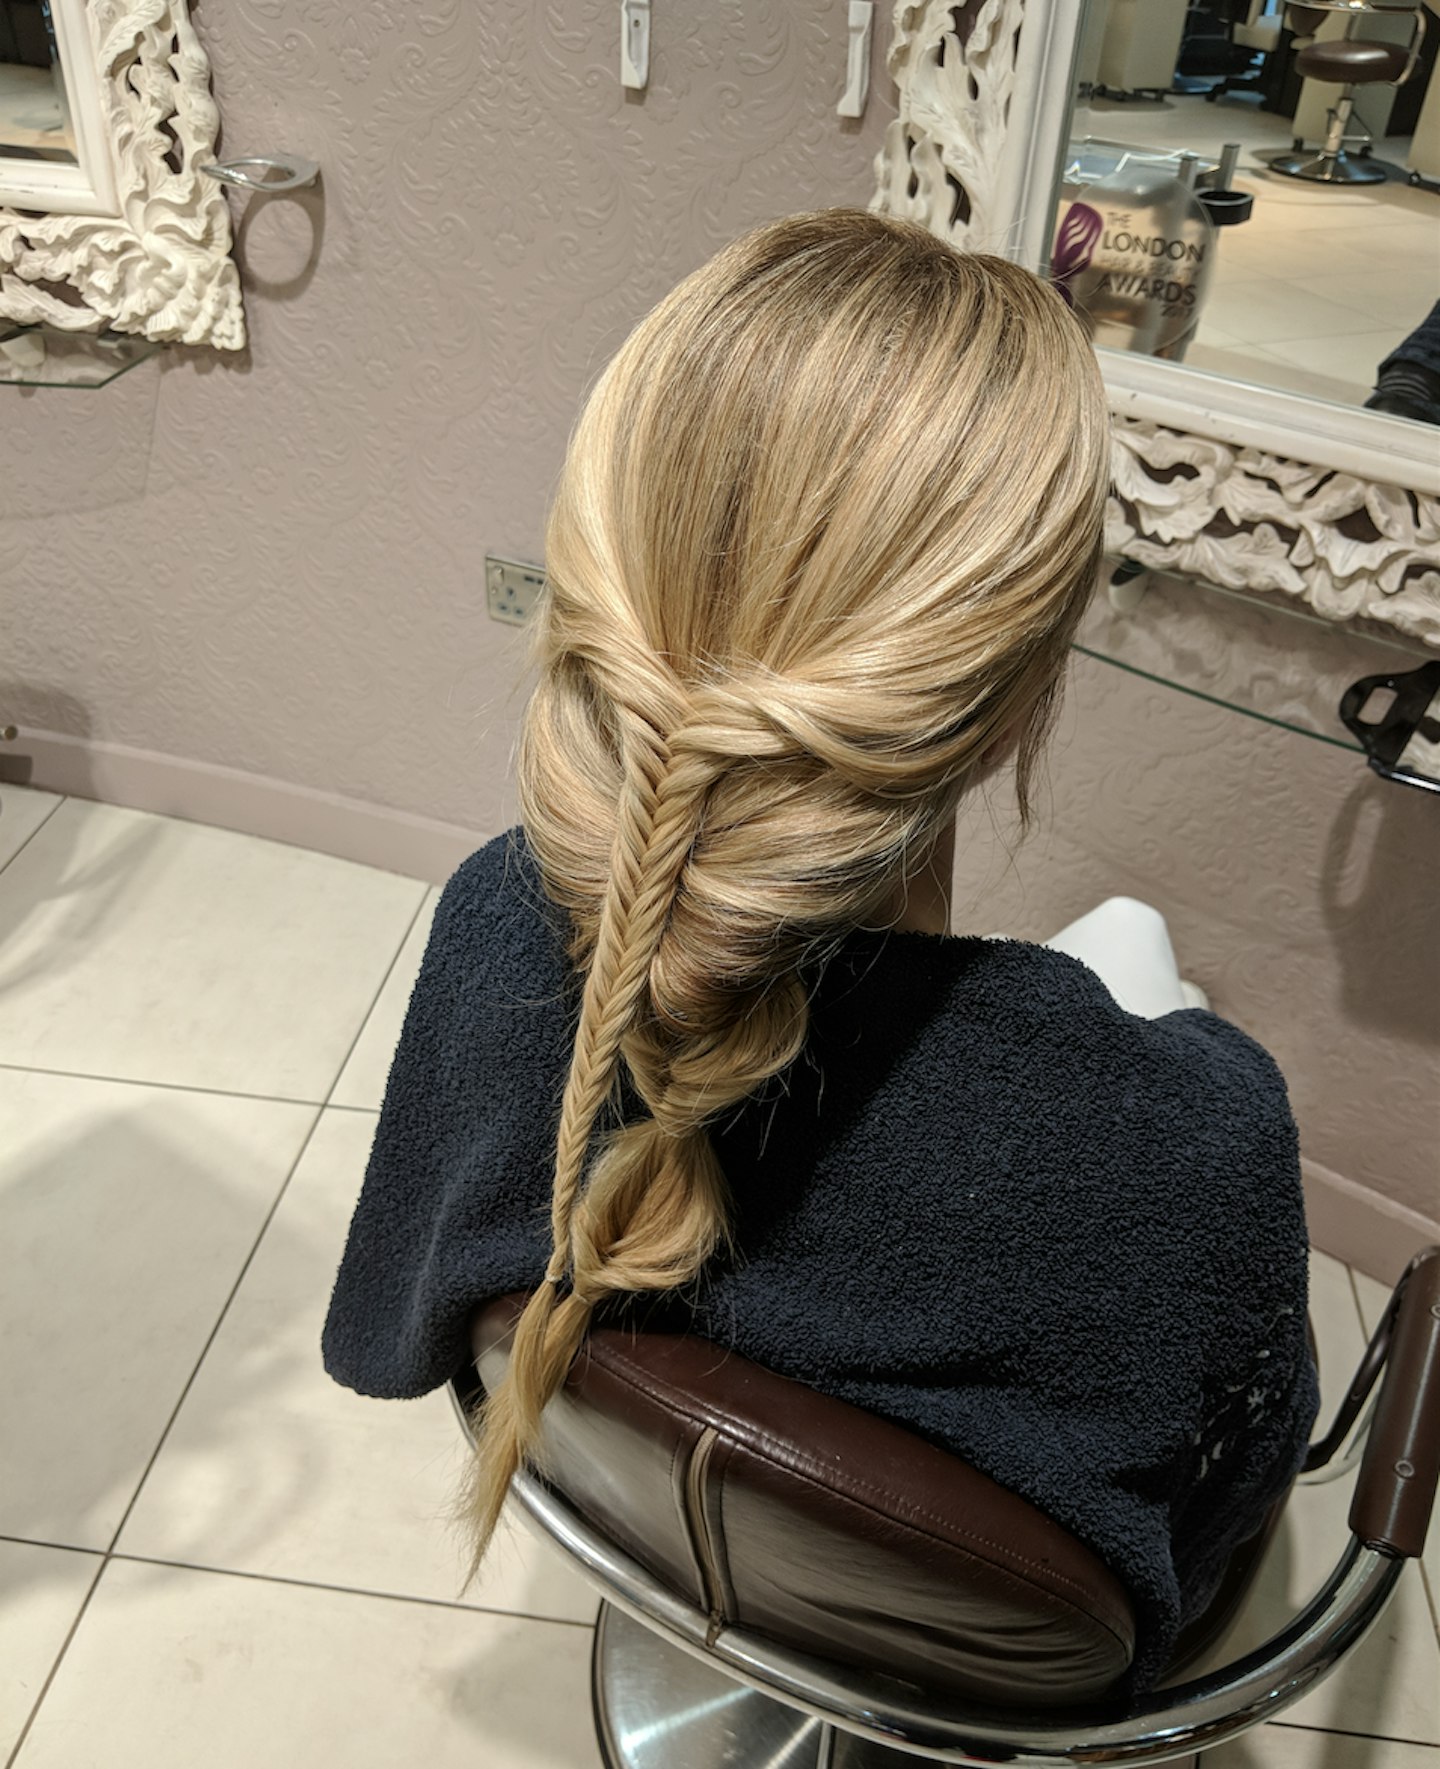
Put the end of the fishtail inside the last hole in the hair.
 7 of 8
Step 7
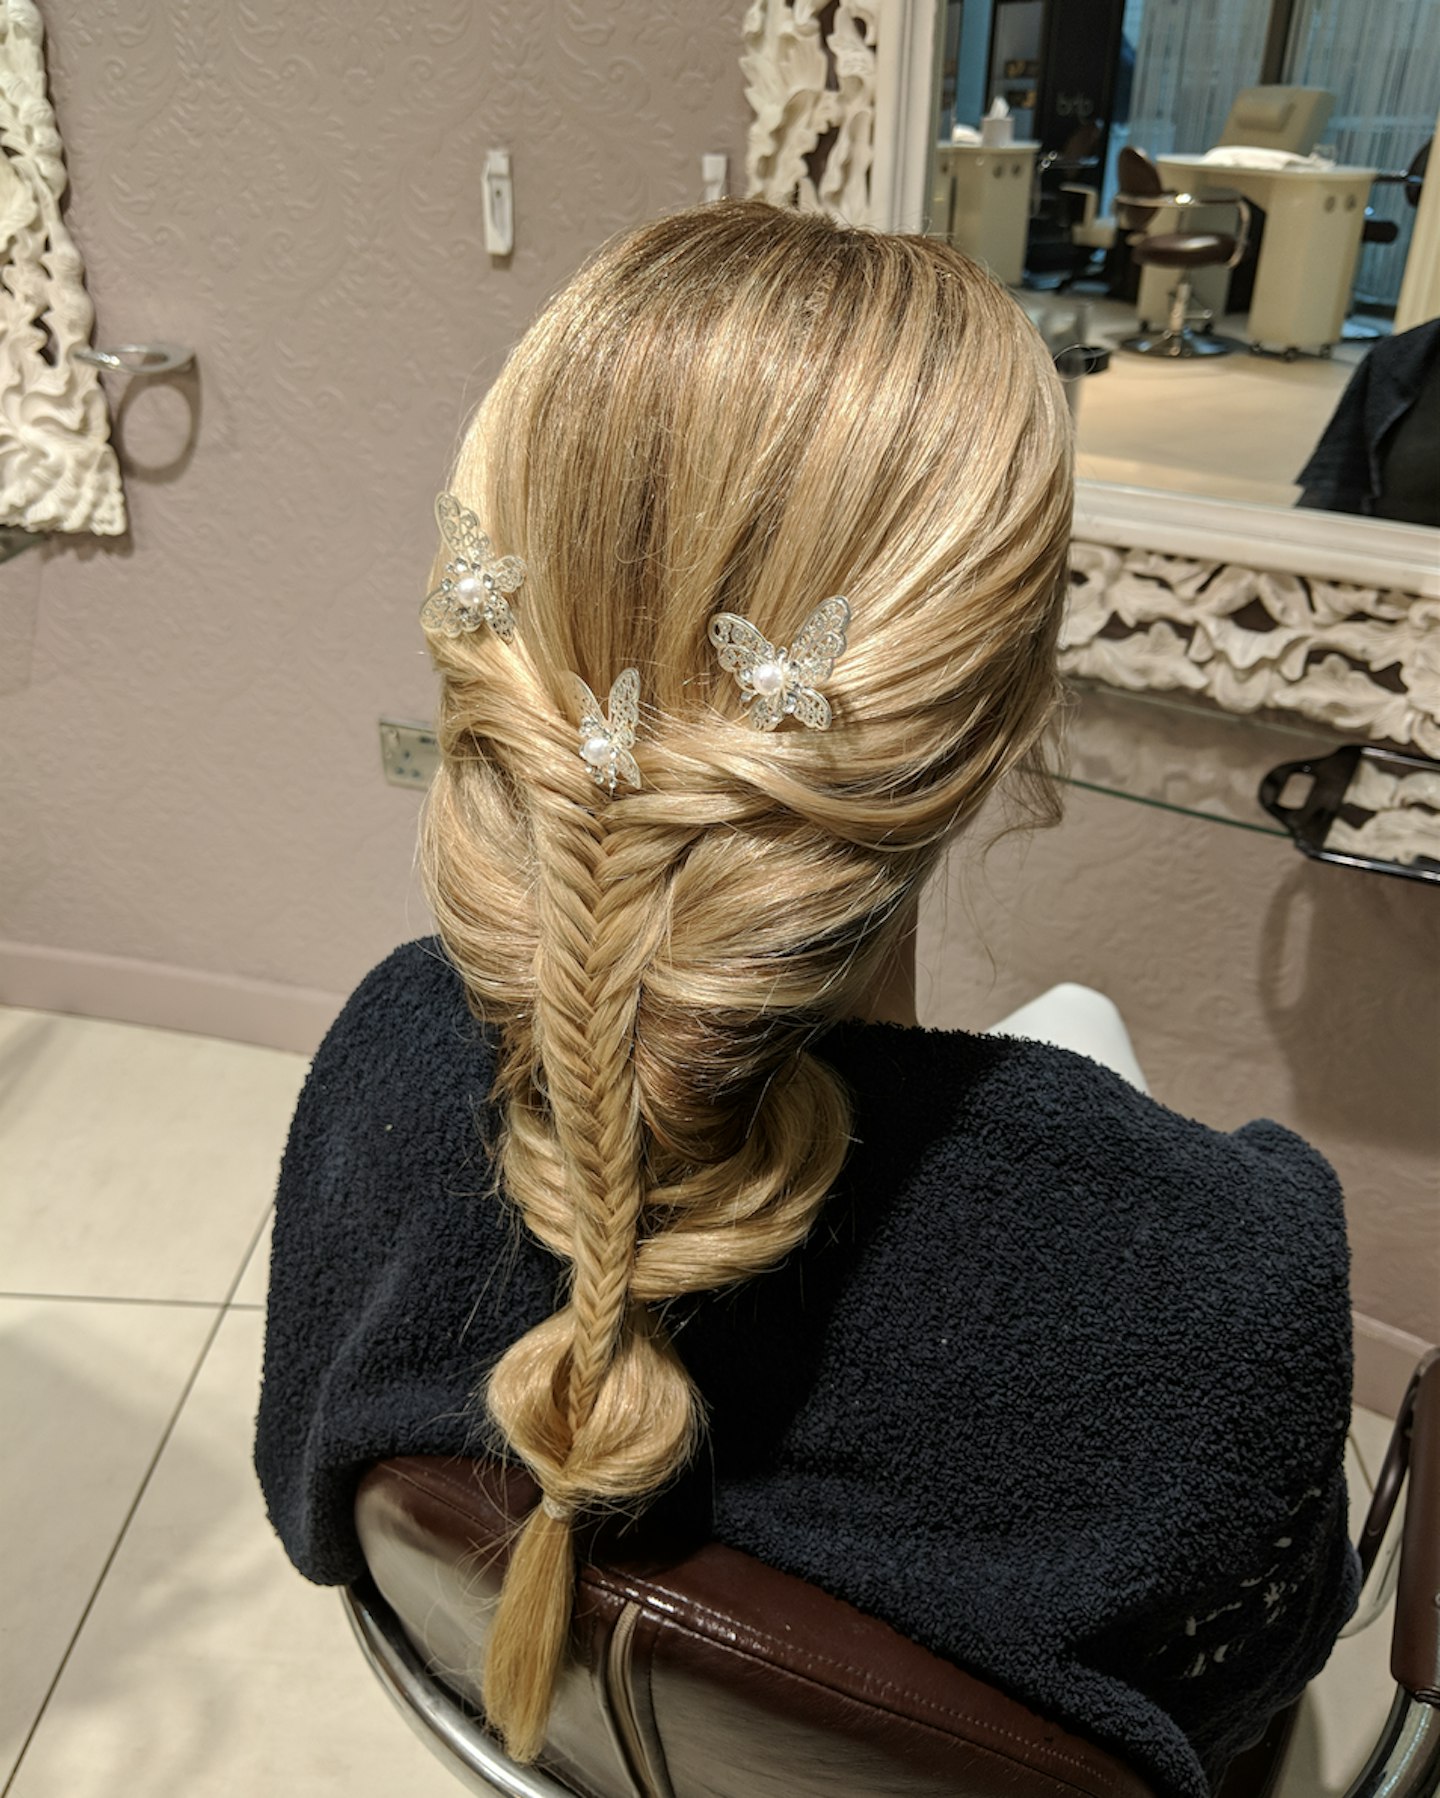
Decorate the braid with any accessories that you might have. You could even try using fresh flowers.
 8 of 8
Step 8
Once you've found your perfect accessory, you can loosen the fishtail a bit - remember less is more. Now you are ready to bring some wedding guest sass.
Want to learn how to recreate Holly Willoughby's red carpet hair? Watch this:
READ MORE:
You NEED to pack these 11 affordable festival beauty products
[The makeup essentials you'll need during this heatwave](http://The makeup essentials you'll need during this heatwave)
In related news: we have everything you need to know about lip fillers, from the cost to celebrity lip fillers before and after.