Getting a DIY hair dye job right can be tricky, but fear not, in this article we’ll talk you through everything you need to know to dye your own hair at home and avoid any hair colour nightmares, along with the best at-home hair dyes to try. We spoke with Garnier’s Home Hair Colour Expert Michael Douglas to get some advice for anyone who’s considering an at-home hair dye adventure.
Before you break into the box dye, make sure to think through these three important points to achieve your best at-home colour.
1) Check yourself
Before you reach for the box dye, take a second to think about if an unsupervised, at-home colour change is in your hair’s best interest. If you’re thinking about dabbling in bleach or suffer from extensive damage, it may be better to book yourself in for a salon appointment.
2) Choose your colour
To find your best shade, look for ones close to your current hue. “I would suggest 1 to 2 shades lighter or 1 to 2 shades darker than your natural colour,” says Michael. “Or choose a colour that is very similar to your natural depth. If you go outside of these boundaries, the colour result can be slightly less predictable.
3) Decide on permanent or semi-permanent dye
There are three main types of hair dye: Semi-permanent, demi-permanent and permanent, - each of which will last different lengths of time on your hair. If you’re worried about making mistakes, opt for a semi-permanent dye that’ll last roughly 15 washes before you go permanent.
Tools you need before you dye
Before you get dyeing, there are a few things you’ll want to have on hand that might not come in your box dye kit.
-
A shower cap (disposable)
-
Two pairs of disposable (latex-free) gloves
-
A Vaseline cream or clear-solid lip balm
-
Tissue or cotton wool
-
A plastic bowl
-
A colour brush
-
Hair sectioning clips
How to dye your hair at home
Follow these steps from start to finish to ace your dye job.
1) What to do before dyeing your hair
What should you do before dyeing? The answer is nothing. “It’s a good idea not to wash your hair before colouring it,” Says Michael. “This means your scalp will be protected by something called the acid mantle. This is a protective layer of sweat, an oil that covers the surface of the scalp. This makes you less sensitive to the colouring process.” Make sure to thoroughly brush through your hair and remove all knots before starting the dyeing process.
2) Protect yourself from stains
Put on an old t-shirt that you’re not afraid to sacrifice and wrap a dark towel around your shoulders, securing the ends with a pin to hold it in place. You’ll also need to cover the area where you work with the dye, newspaper works great for this. There’s nothing worse than ending up with stripes of colour on your forehead, to avoid this, Michael suggests to “Have a piece of tissue or cotton wool to wipe any excess off your ears or hair line. A small amount of Vaseline is a good barrier cream to put on your ears and forehead before applying, just in case your application gets a bit messy.”
3) Buy two boxes of hair dye
If your strands are medium length or longer, you’ll likely need at least two boxes of dye to cover it. Also, if you have roots to deal with, you’ll need more substance to ensure better coverage and an even colour afterwards. There’s nothing worse than running out halfway through, so stock up.
4) Put your gloves on
Gloves will usually come with a dye kit, but if they don’t you can use any normal rubber, vinyl or latex gloves. It’s so important to wear gloves while dyeing your hair - if you don’t you’ll end up staining your hands!
5) Use the supplied bottle or bowl to mix the dye
Most kits will include bottles for mixing the dye. Follow the instructions provided in your kit to combine the dye ingredients into the bottle provided, or a plastic bowl, then shake the solution until the ingredients are well combined.
6) Don't skip the strand test
Though it might be tempting to bypass this step, this strand test is key when you’re trying out a new shade. Try colouring a few trimmed or hidden hairs first, then look at the result before you commit.
7) Section hair
Divide hair into four workable sections and keep them in place with hair sectioning clips.
8) Apply the dye
After mixing the dye according to the box instructions, use an applicator brush for even distribution, particularly on your roots and hairline. Begin applying at the root, working section by section. Make sure to follow the directions in your box, paying particular attention to your time window; going over or under the allotted time can alter the entire shade.
9) Let the colour develop with your hair down
Hold off on tying your hair up until you’re done, keep your hair loose once you’ve applied the dye to ensure even coverage. You can even use a disposable shower cap placed over your head while the dye processes to prevent it from dripping.
10) Use the pack's conditioner to seal your hair
Not only will conditioning your hair after colouring give you a super glossy finish, but it will also help to lock in the colour to prevent it from fading and help keep it looking rich and vibrant. After you’ve thoroughly rinsed your hair, apply a generous handful of conditioner through your lengths. Many dye kits will have a conditioner included in the pack, but if not, look for products formulated especially for dyed hair.
Key takeaways
-
Wash your hair no less than 2 days before dyeing it, and select a shade 1 to 2 shades lighter or 1 to 2 shades darker than your natural colour for the best finish.
-
Before starting the colouring process, brush through your hair to remove all knots.
-
Use an applicator brush to apply the hair dye – especially for your roots and hairline.
-
Follow the instructions carefully – make sure to pay attention to the allotted time window.
<meta charset="utf-8"><strong>SHOP: The best at-home hair colour kits around</strong>
 1 of 5
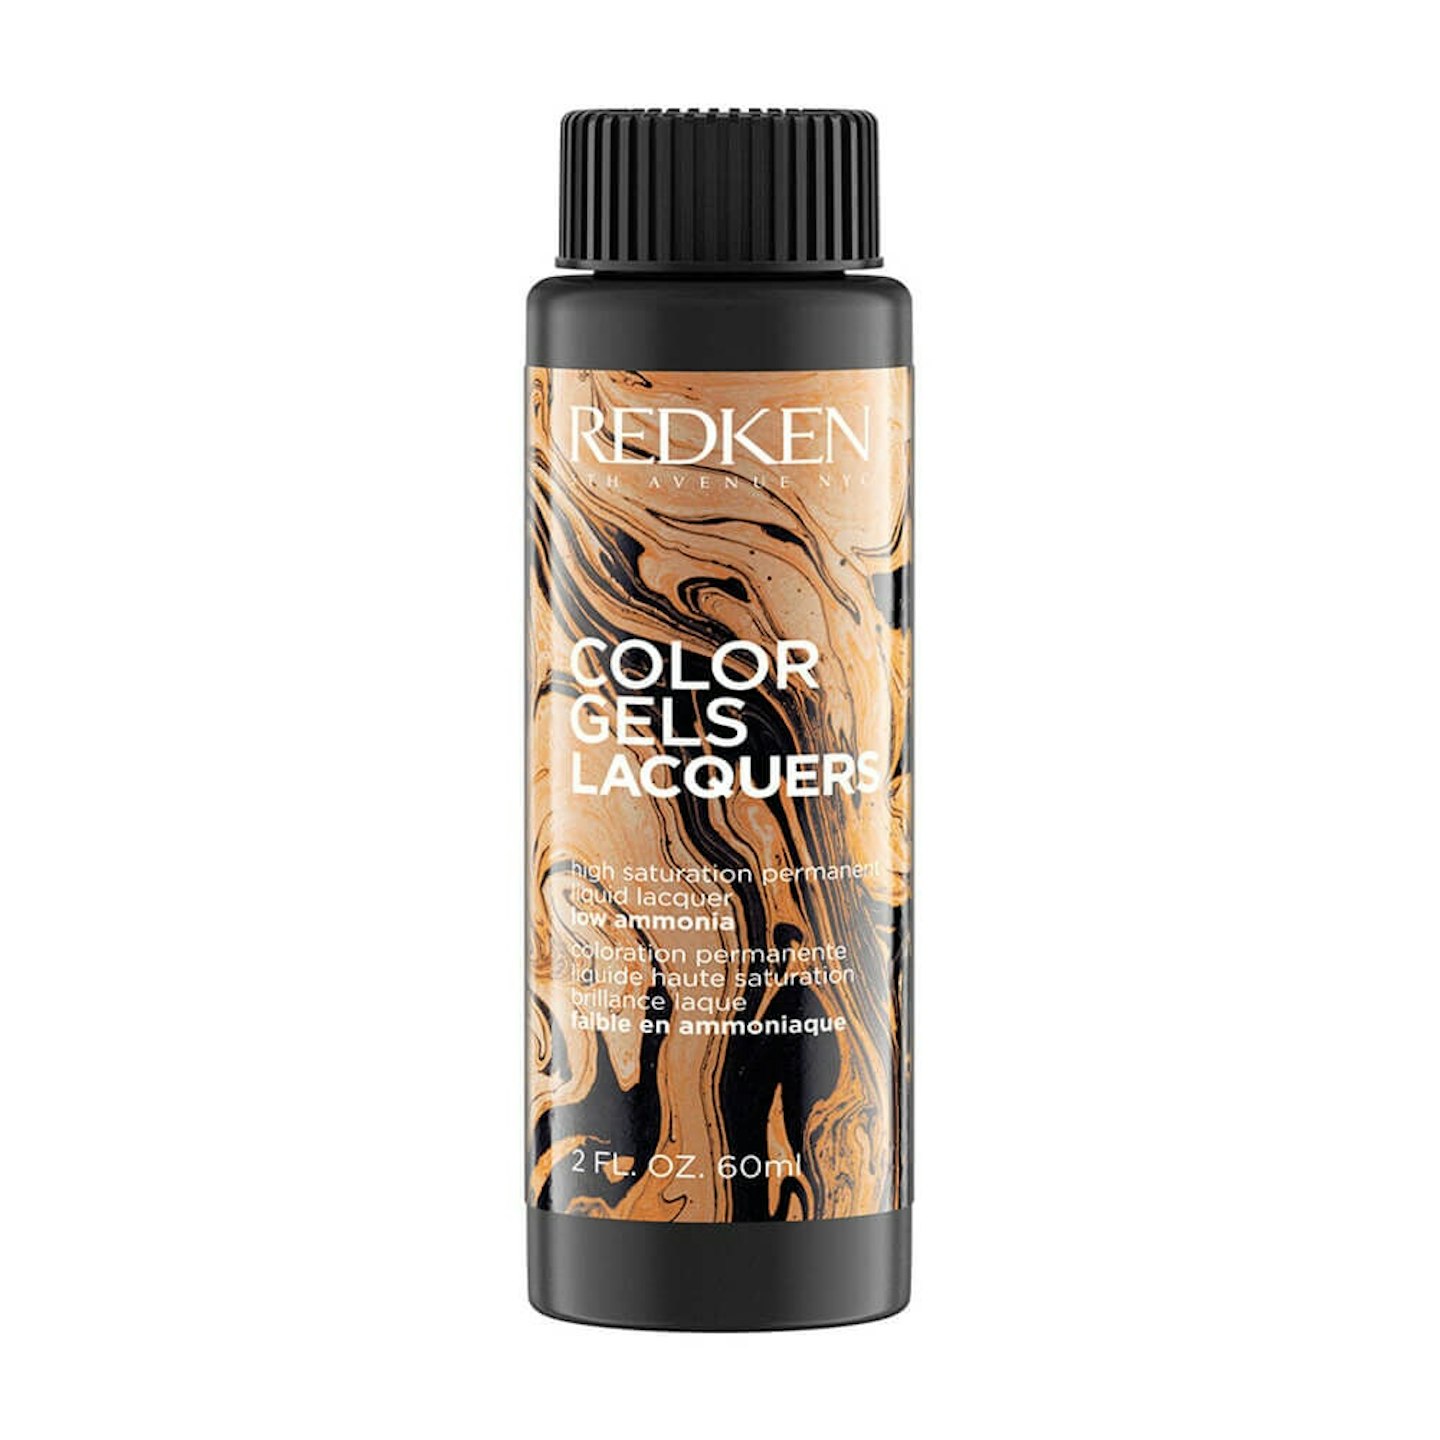
Redken Color Gels Lacquers Permanent Hair Colour
Try out this high saturation permanent dye for fade-resistant colour. Providing effortless glossy colour at home, hair is left looking shiny and healthy.

 2 of 5
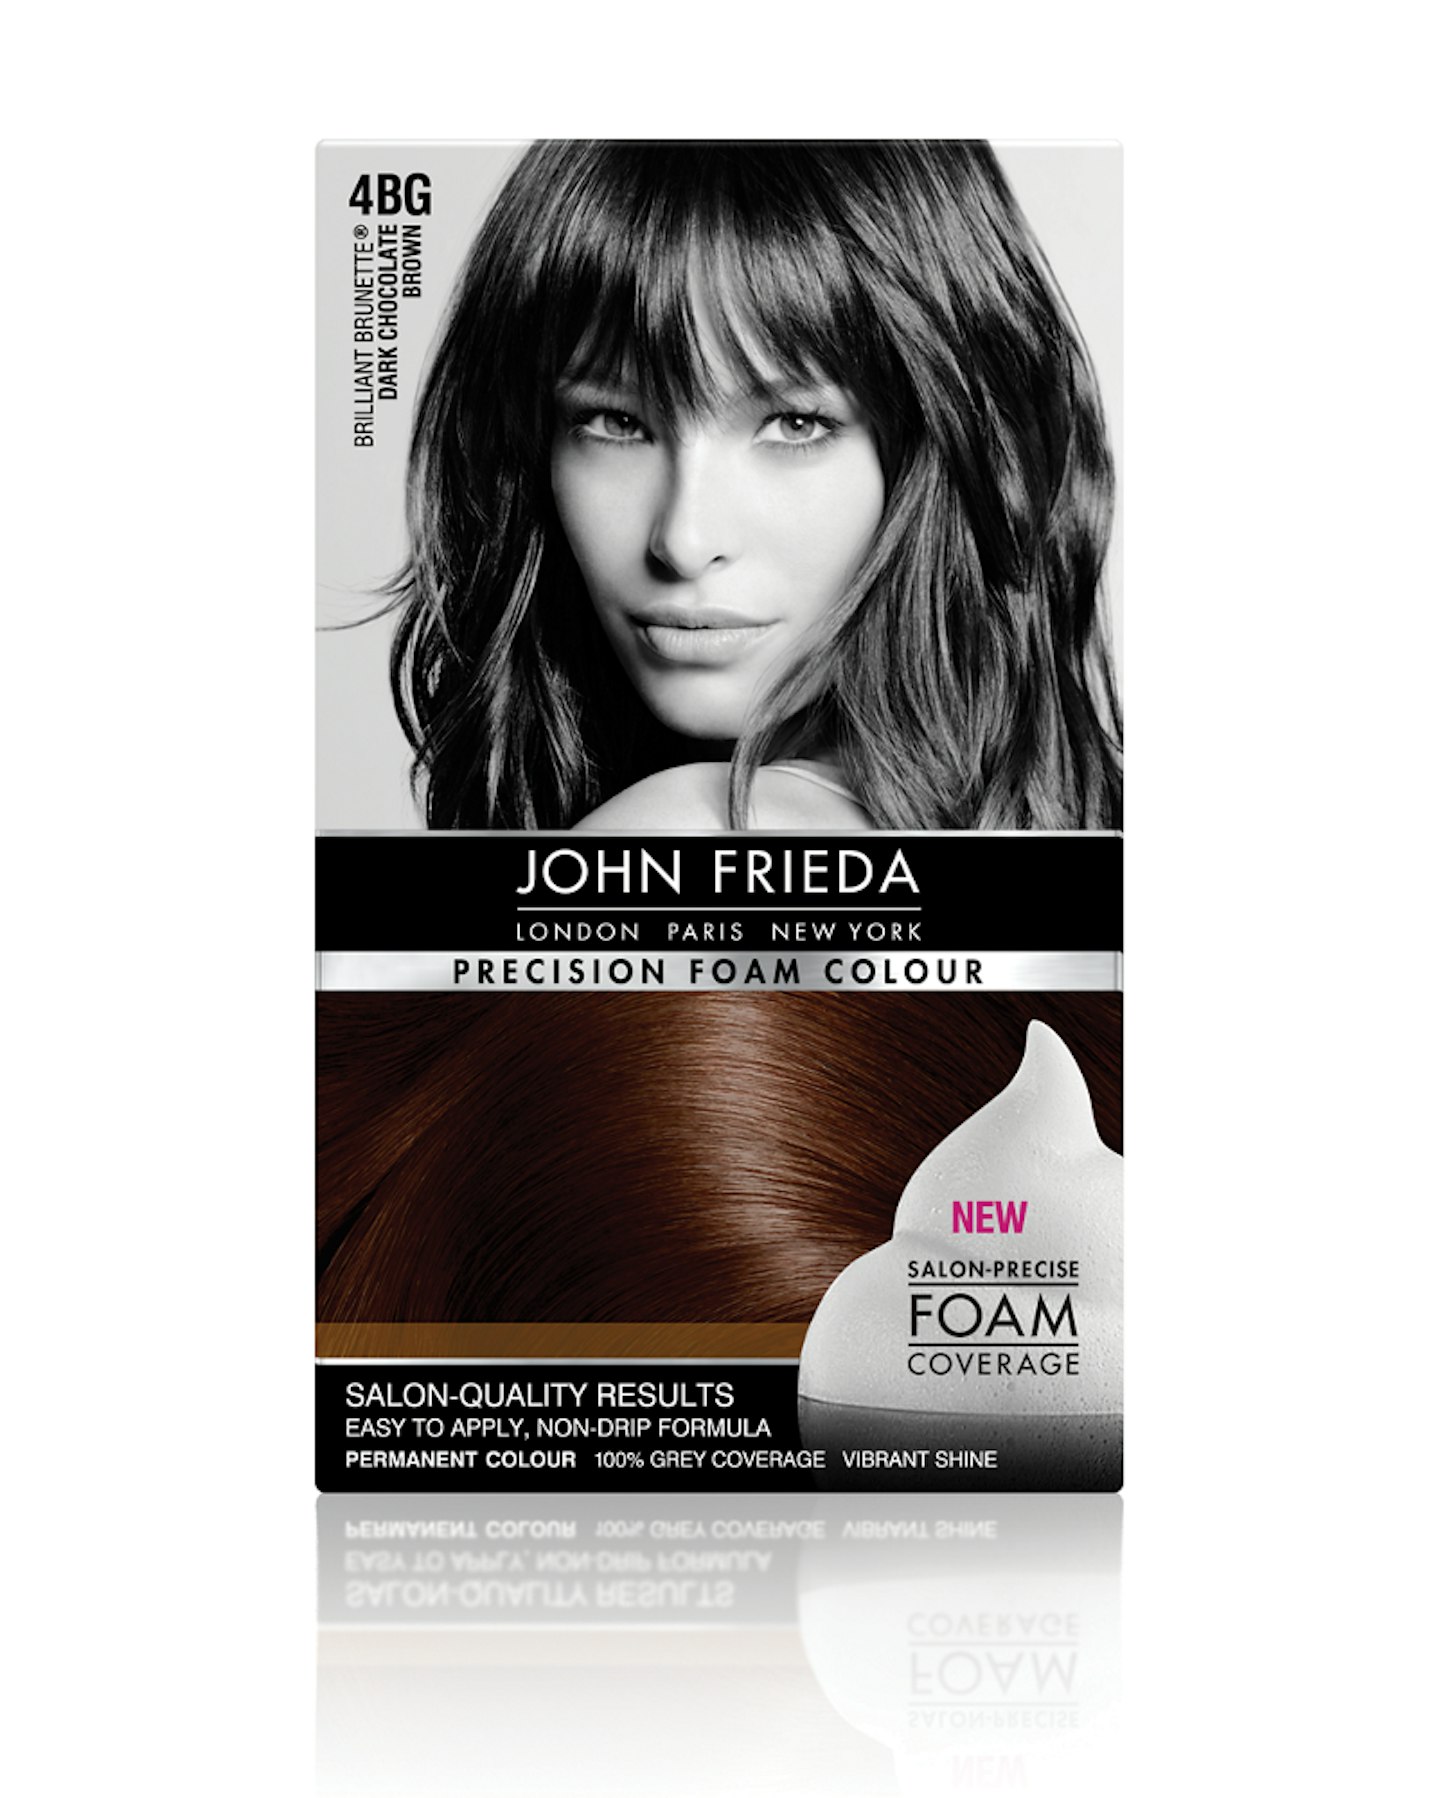
John Frieda Precision Foam Colour
This salon-quality foam formula is the best around for achieving deep colour saturation. With perfect coverage that’s seamless to apply, the foam texture on this pick makes it easy to cover hard-to-reach areas.
 3 of 5
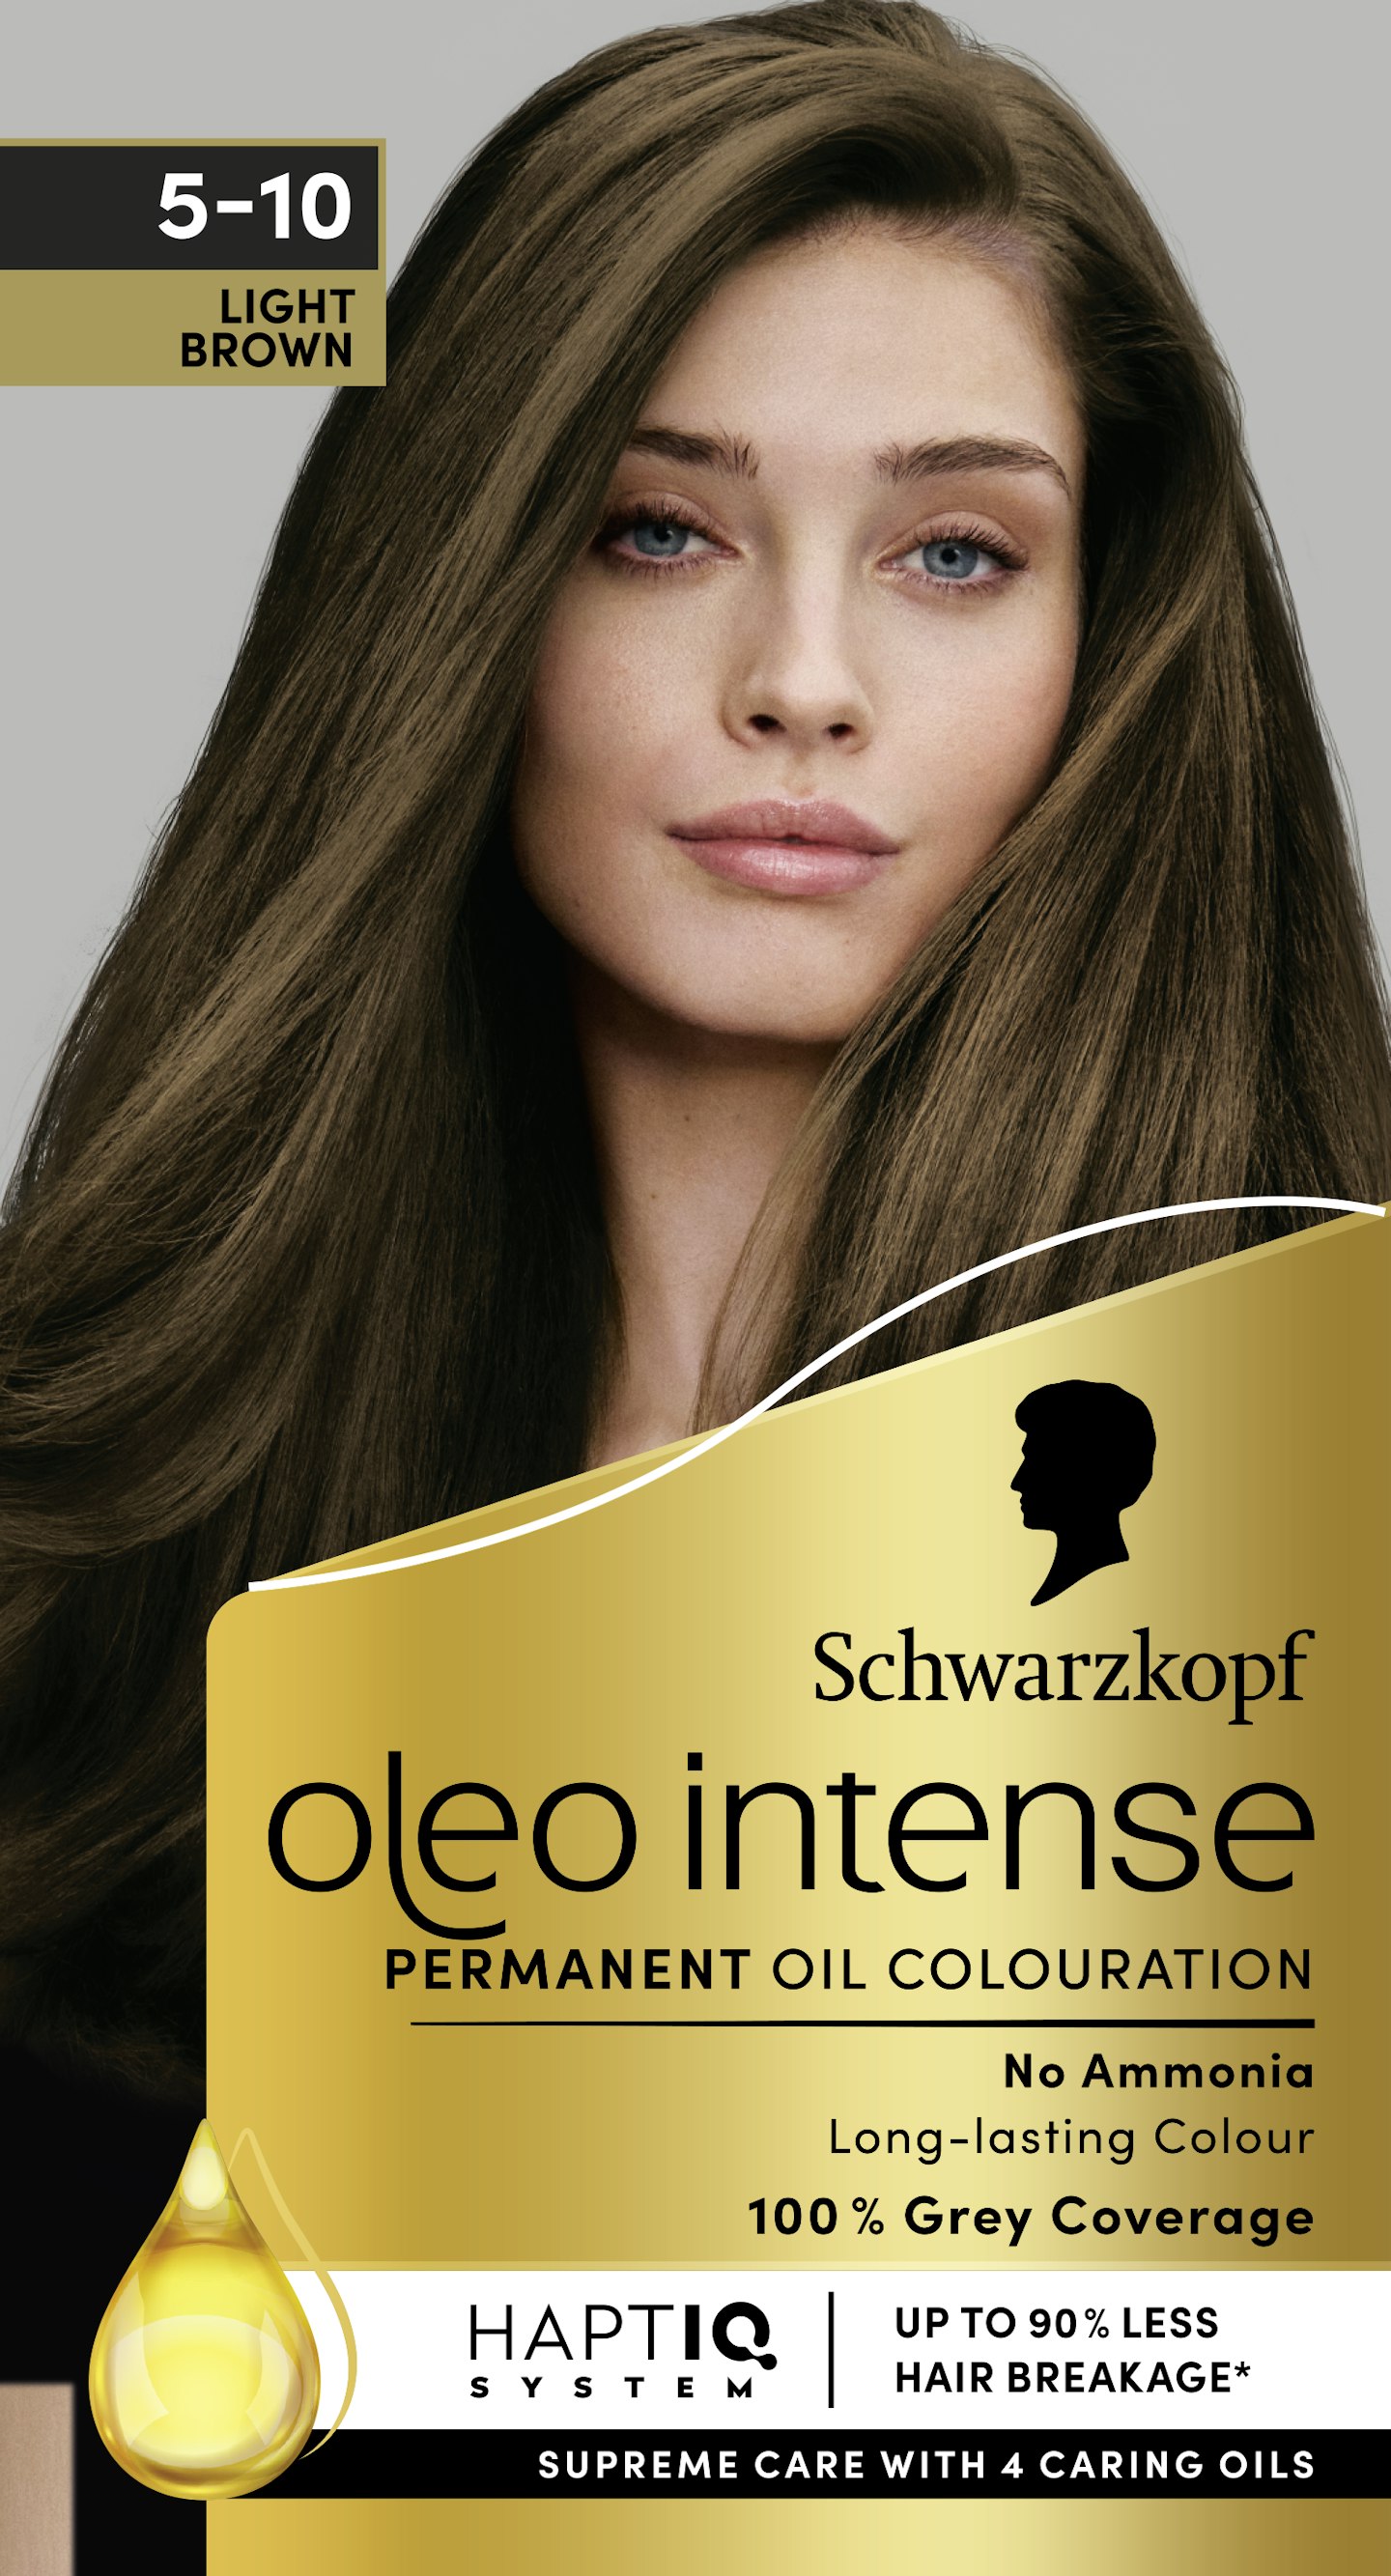
Schwarzkopf Oleo Intense Permanent Oil Colour
Available in 15 shades, this long-lasting, ammonia-free (no harsh odour!) permanent colour comes with everything you need, making the hair dyeing experience much more goof-proof than usual. The kit also comes with a conditioner to use afterwards, the secret to ensuring a super glossy finish.
 4 of 5
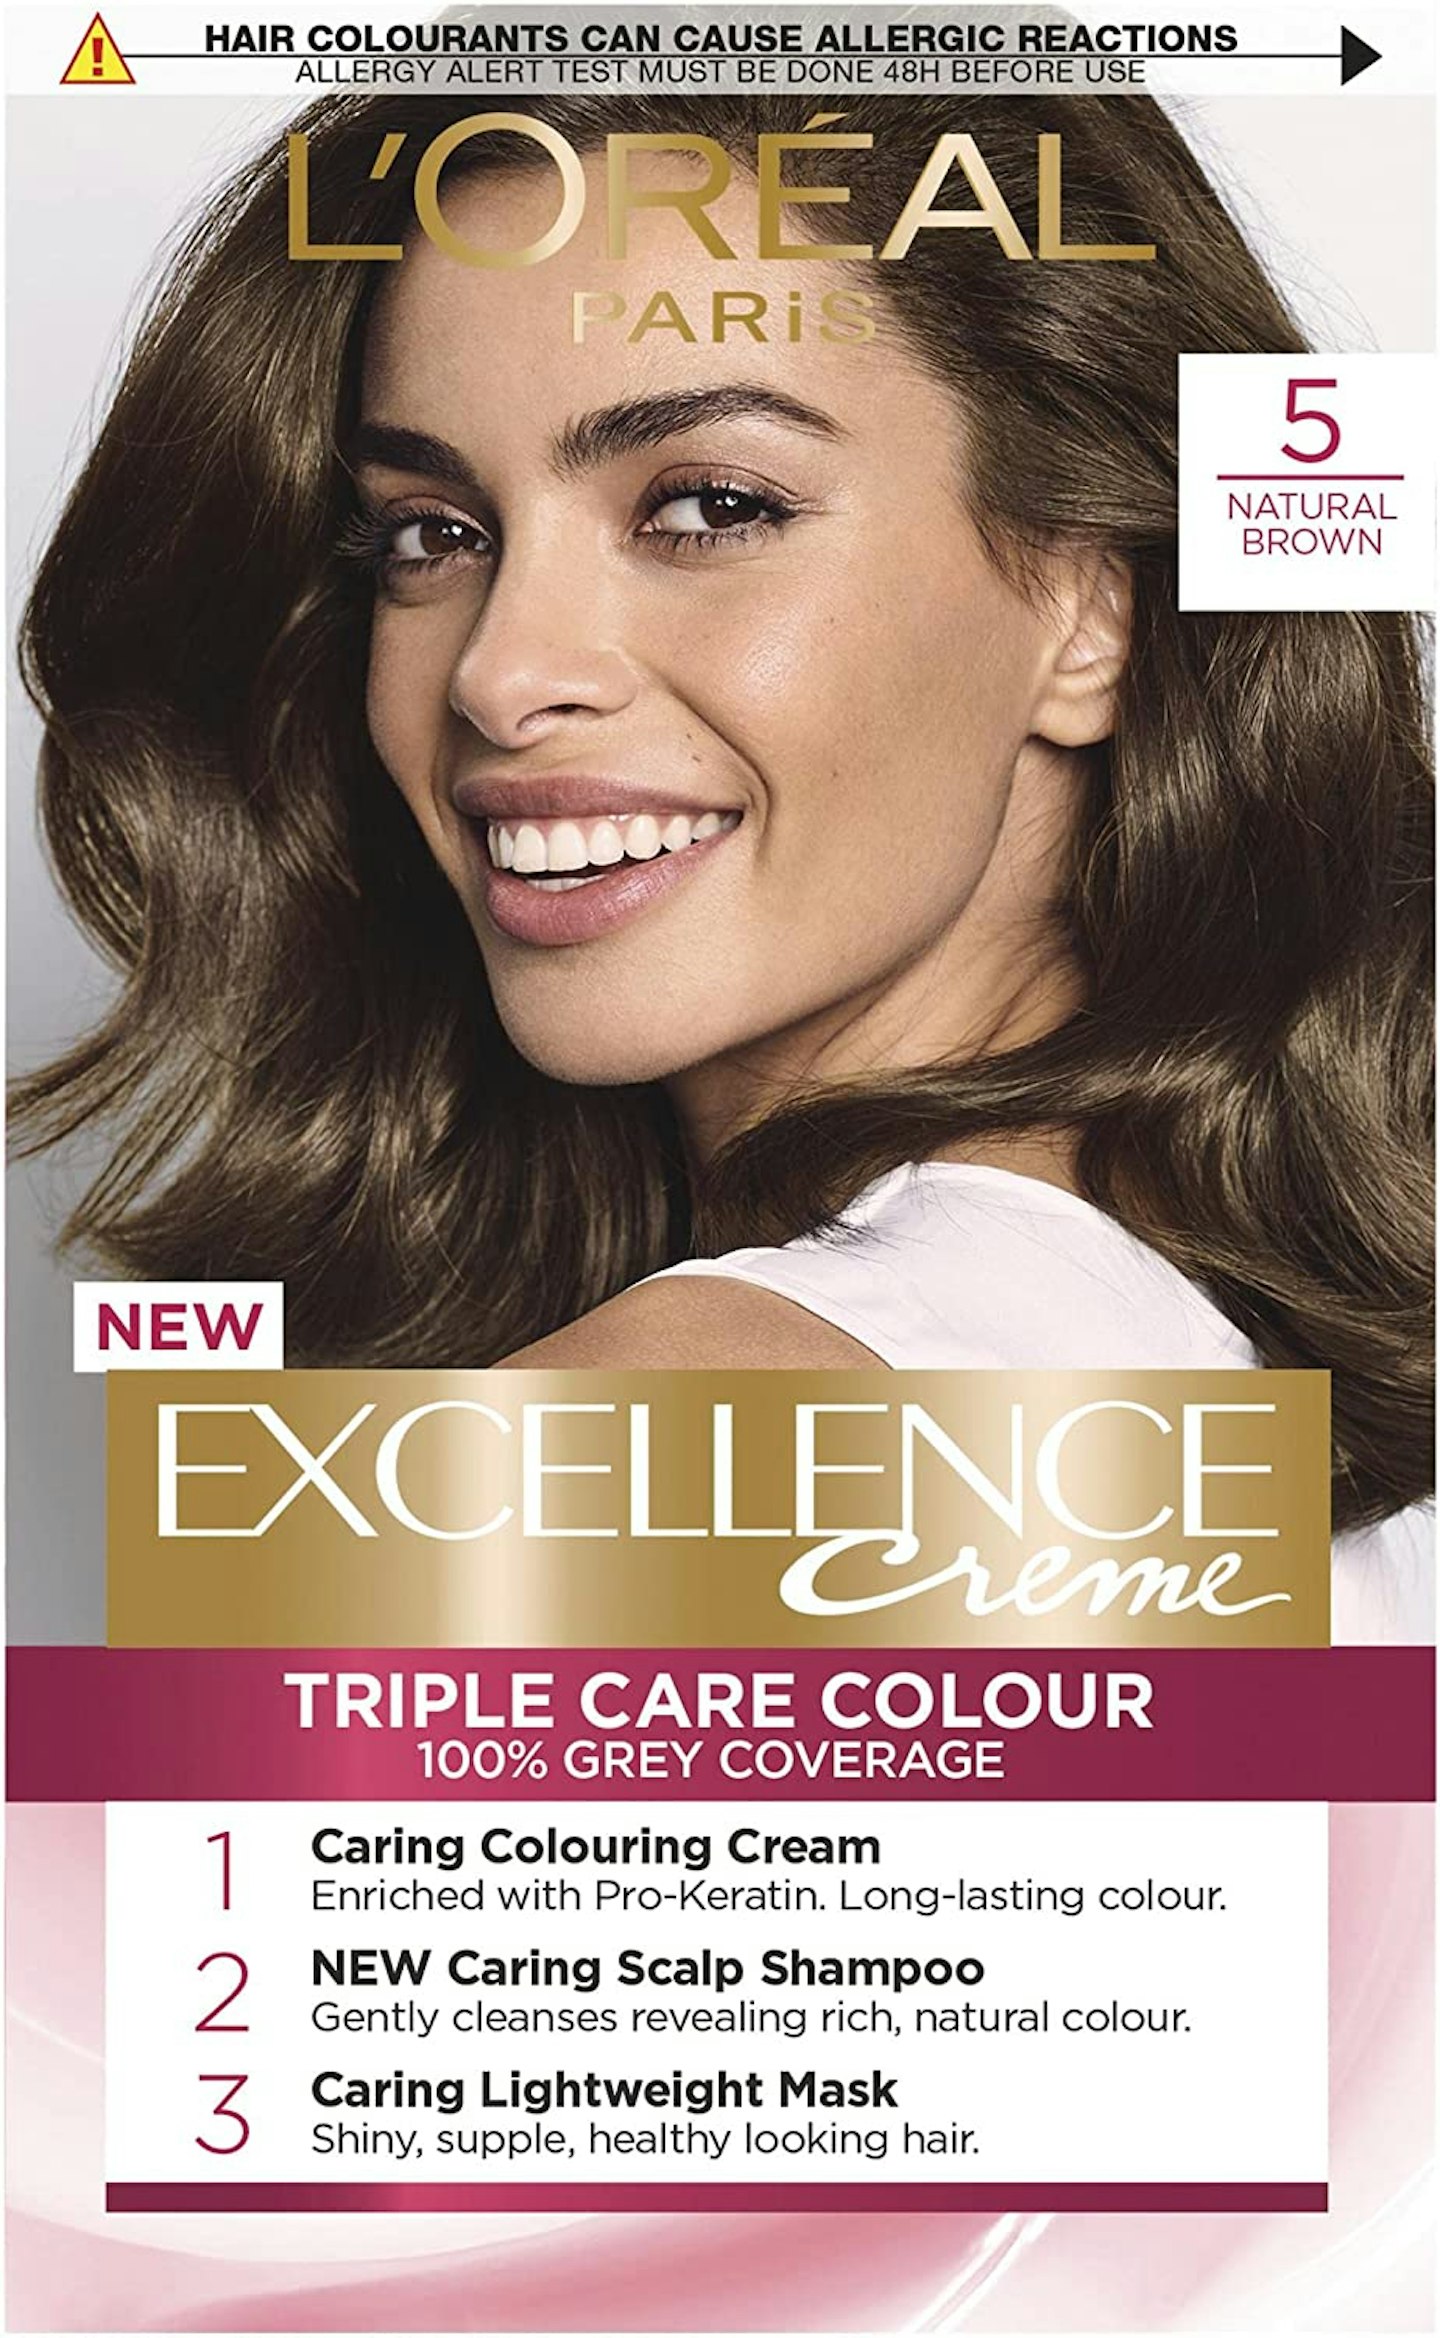
L’Oréal Paris Excellence Crème Permanent Hair Dye
This miracle dye from the iconic brand L’Oreal is perfect for achieving long-lasting, rich colour. Enriching your own natural hair colour, this leaves you with a cool just-left-the-salon finish at home – no appointment necessary.
 5 of 5
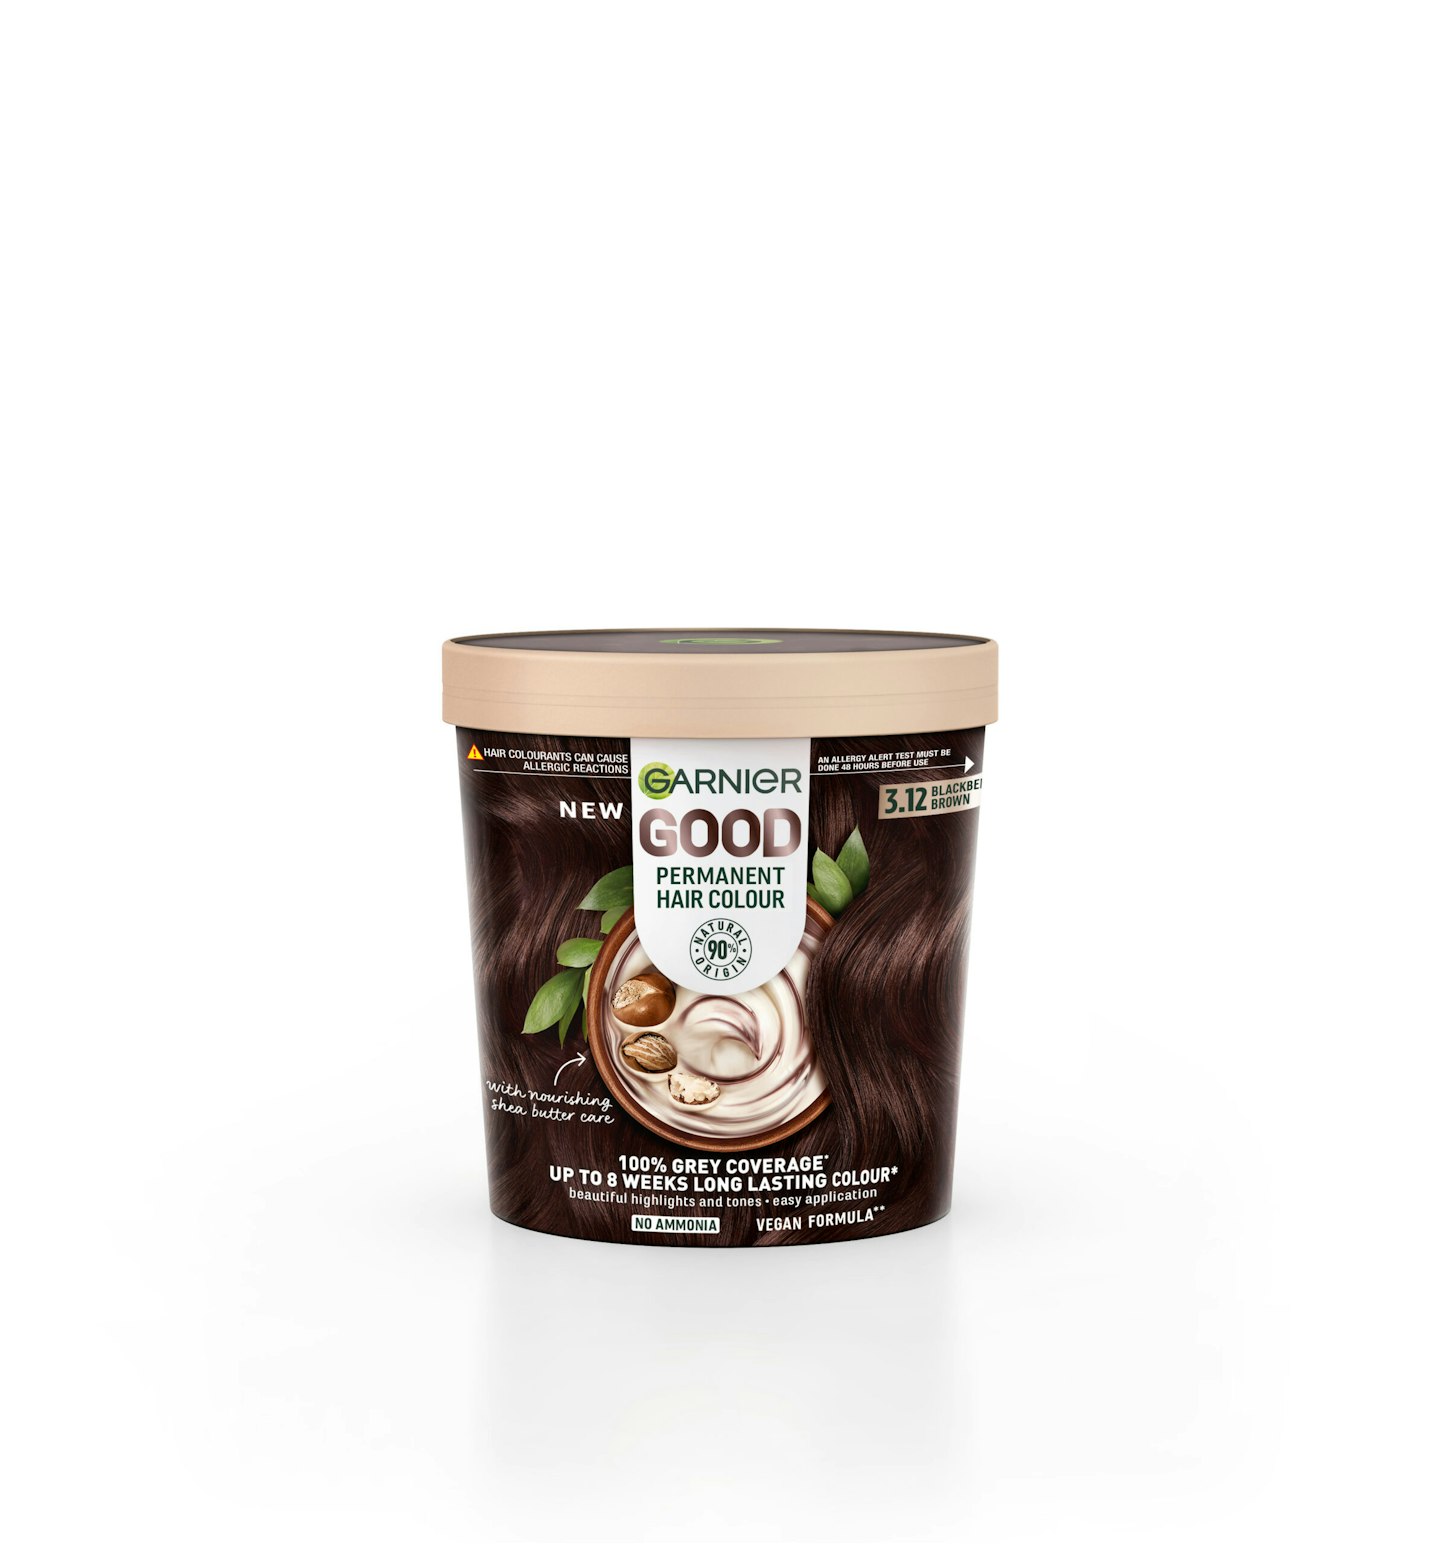
Garnier GOOD Permanent Hair Dye
The Garnier GOOD Permanent Hair Dye is an ultra-caring formula that helps you get your best colour yet. It contains shea butter to nourish and rejuvenate strands to leave your locks looking healthy while packing on long-lasting colour.